

Remote visual inspection guide
Borescopes for Pump and Valve Inspection
Choose an inspection camera around the route into the component—not a specification list in isolation. Access geometry, probe diameter, articulation, optics, light, fluids, measurement and hazardous-area requirements all shape the right configuration.
Quick summary
Remote visual inspection (RVI) can document accessible internal surfaces of pumps and valves through an existing opening and may reduce unnecessary disassembly during initial assessment. Start with the smallest restriction and the bends between the entry point and target. Then match the probe, viewing direction, illumination and environmental rating to the job.
Why RVI
See internal condition before committing to teardown
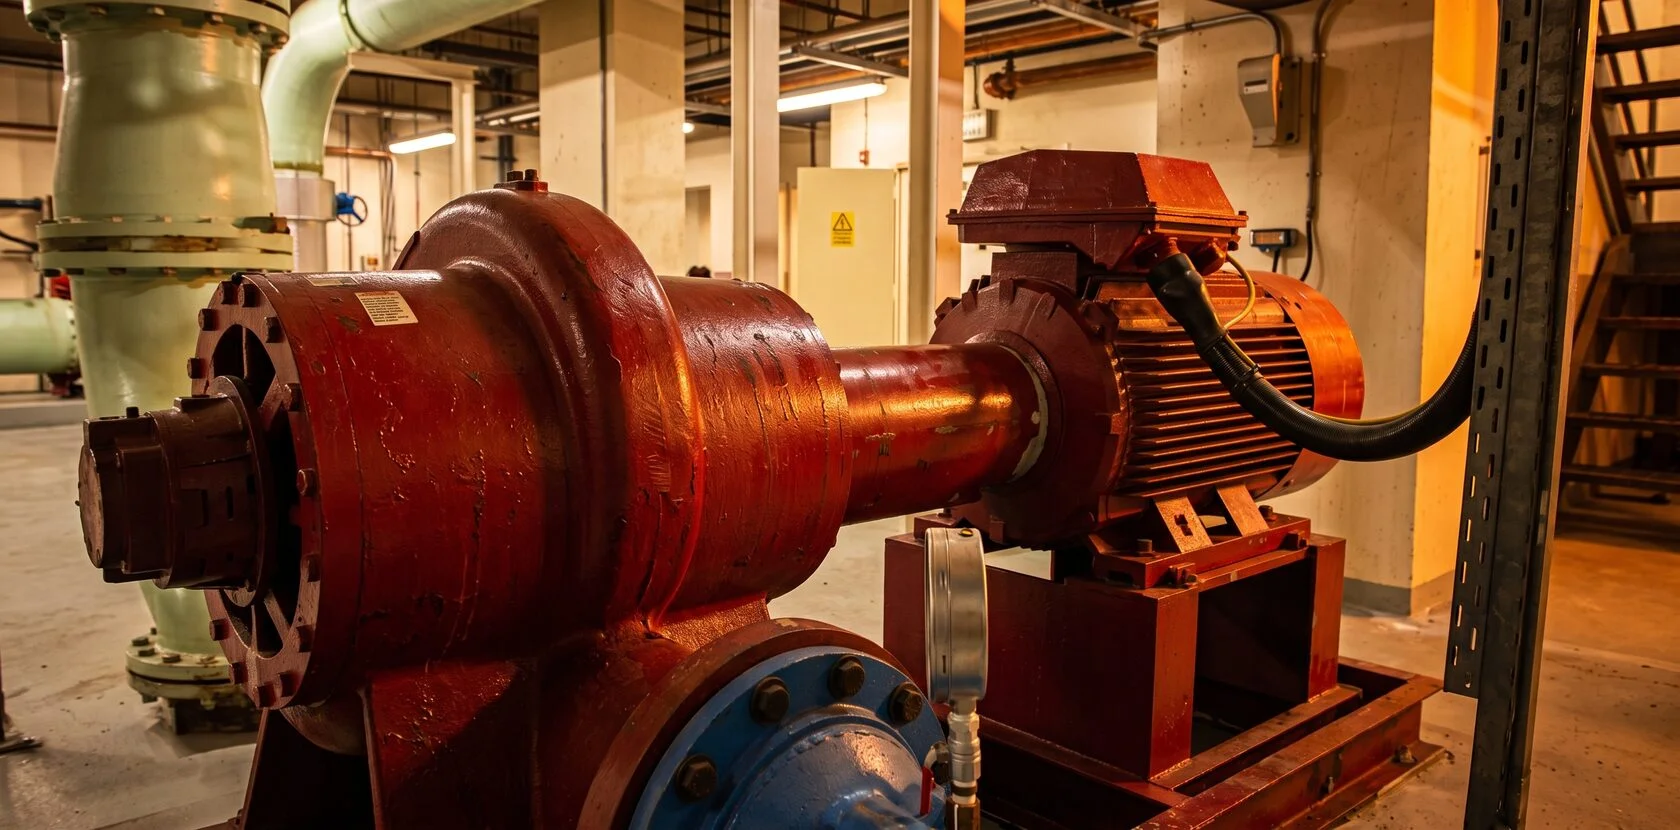
Pumps and valves move, stop and direct gases or liquids. In service, internal parts may be affected by corrosion, erosion, deposits, debris, cavitation, scoring and general mechanical wear. A borescope gives inspectors a view of reachable internal surfaces and a way to record findings for comparison, maintenance planning and quality documentation.
Use an existing route
Possible routes include nozzles, ports and openings exposed during approved maintenance.
Capture stills and video
Document visible conditions, component location and the inspection sequence.
Triage before teardown
Use visual evidence to support the next maintenance or NDT decision.
Inspection targets
What an inspector may look for
Pump internals
Visible cavitation patterns, corrosion, erosion, deposits, blockages, foreign material and damage on reachable impellers, casings and internal surfaces.
Valve internals
Visible wear, deposits, scoring, corrosion and damage on reachable seats, discs, stems, cages and sealing surfaces.
Manufacturing checks
Porosity indications, burrs, residue, foreign material and surface condition on components that the selected optical path can reach.
Maintenance documentation
Images and video that identify location, orientation and visible changes over time when inspections are performed consistently.
Interactive selection guide
Start with the inspection situation
Choose the condition that creates the main constraint. The result is a configuration starting point—not a substitute for checking the exact access path, environment and product documentation.
Rigid borescope or rigid video system
A rigid optical path can suit a short, unobstructed route when the target is reachable without negotiating bends.
- Verify: usable insertion length and clearance.
- Choose: direct or side-view direction for the target surface.
- Check: light delivery on reflective or dark surfaces.
Articulating videoscope
A flexible insertion tube with controllable tip articulation helps navigate around geometry and aim at seats, cages, impellers and sidewalls.
- Verify: bend radius and complete route geometry.
- Choose: articulation range and working length for the route.
- Check: side-view or interchangeable optics if surfaces sit across the probe axis.
Small-diameter or micro borescope
When the narrowest restriction controls access, prioritize a probe that clears it with appropriate handling margin.
- Measure: every restriction, not only the entry port.
- Allow: clearance for safe insertion and withdrawal.
- Trade off: smaller probes can affect durability, light and available features.
Measurement-capable videoscope
If maintenance decisions depend on dimensions, select a system designed for measurement and confirm that its method, range and accuracy suit the target.
- Plan: the viewing position and target preparation.
- Confirm: which dimensions the system can calculate.
- Document: images, measurement points and inspection context.
Properly certified inspection equipment
In a classified area, the applicable site classification and approved work procedure come before general camera features.
- Identify: the exact gas, vapor or dust classification.
- Verify: certification for the complete equipment configuration.
- Match: permitted use to the facility requirement before deployment.
Core selection criteria
Define the route before comparing cameras
- Access route: map the entry point, distance, turns and target orientation.
- Probe diameter: use the narrowest restriction along the entire route.
- Articulation: decide whether steering is needed to navigate or aim.
- Viewing direction: choose forward, side-view, dual-view or interchangeable optics.
- Illumination: account for cavity size, dark coatings, glare and wet reflective metal.
- Fluid exposure: verify ingress protection and material compatibility with residues.
- Measurement: specify whether visual documentation or dimensional data is required.
- Hazardous area: match certification to the exact site classification.
| Inspection condition | Configuration priority | What to verify |
|---|---|---|
| Short, straight route | Rigid scope; direct or side-view optics | Insertion length, target angle and clearance |
| Turns, cages or offset targets | Flexible probe with tip articulation | Bend radius, articulation, working length and withdrawal path |
| Small port or narrow internal restriction | Small-diameter or micro probe | Narrowest diameter, durability and available illumination |
| Large dark cavity or wet reflective surface | Controllable illumination and suitable optics | Glare, shadow, working distance and image detail |
| Contact with process residue | Compatible insertion tube and environmental protection | Fluid, concentration, exposure time and cleaning method |
| Defect sizing | Measurement-capable system | Measurement method, target access and required accuracy |
| Classified location | Approved hazardous-area configuration | Certificate, area class, gas/dust group and operating limits |
Three-step process
Plan, inspect, document
Plan the path
Identify the component, target surface, approved access point, narrowest restriction, bends, working distance, residue and area classification.
Control the view
Prepare and isolate the equipment under the facility procedure. Insert without forcing, orient the image, manage glare and scan each target systematically.
Record the evidence
Save clear stills or video with location and orientation context. Note limitations and route visible findings to the appropriate maintenance or NDT process.
Suggested products
Equipment options to compare
These product families cover different access and inspection situations. Confirm the current configuration, dimensions, environmental rating and suitability for your application before selection.
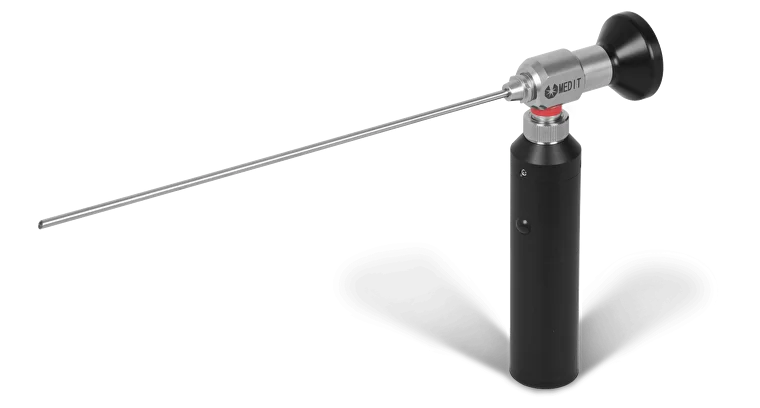
MEDIT Rigid Borescope
For short, straight access where rigid optics and selectable viewing direction suit the target.
View product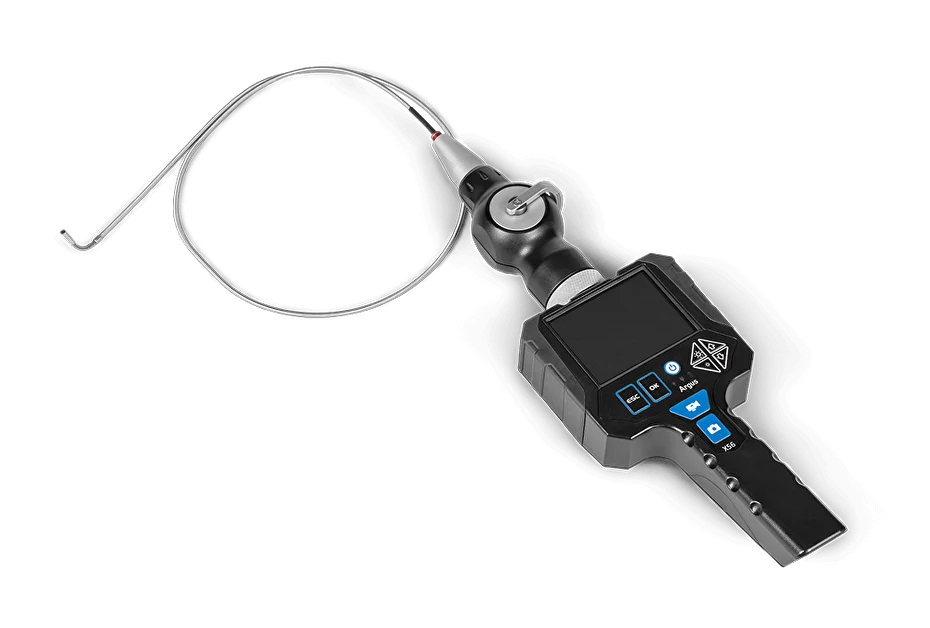
Rigid Video Borescope ORION
A rigid video option for accessible components where direct digital viewing and capture are preferred.
View product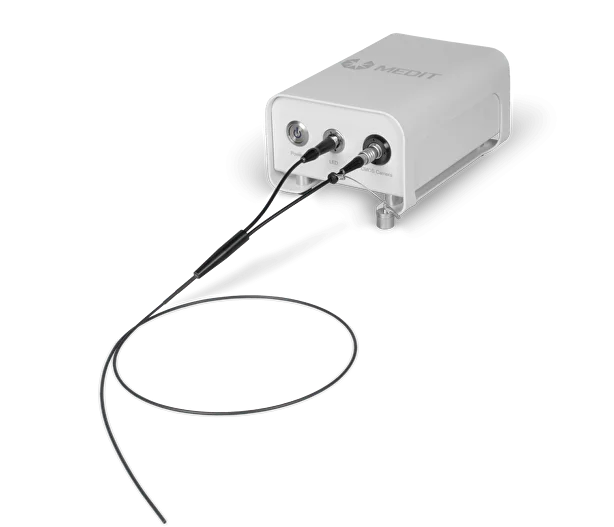
USB Micro Borescope MICRON
A small-diameter option when access is limited by a narrow port or internal restriction.
View product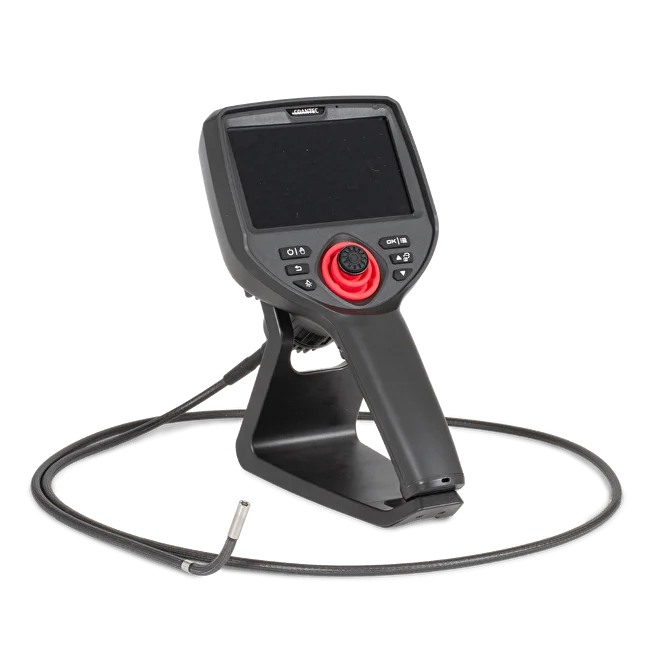
VOYAGER M40 HD Borescope Camera
A flexible inspection platform to compare for longer or more complex internal routes.
View product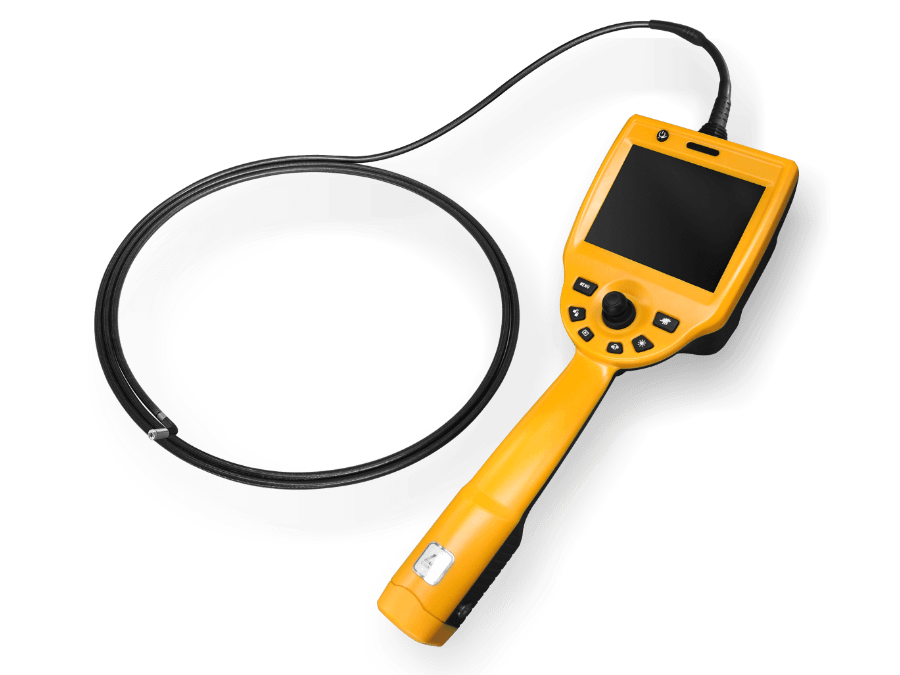
VOYAGER C50 Video Borescope
A video borescope option for detailed visual documentation in industrial inspection work.
View product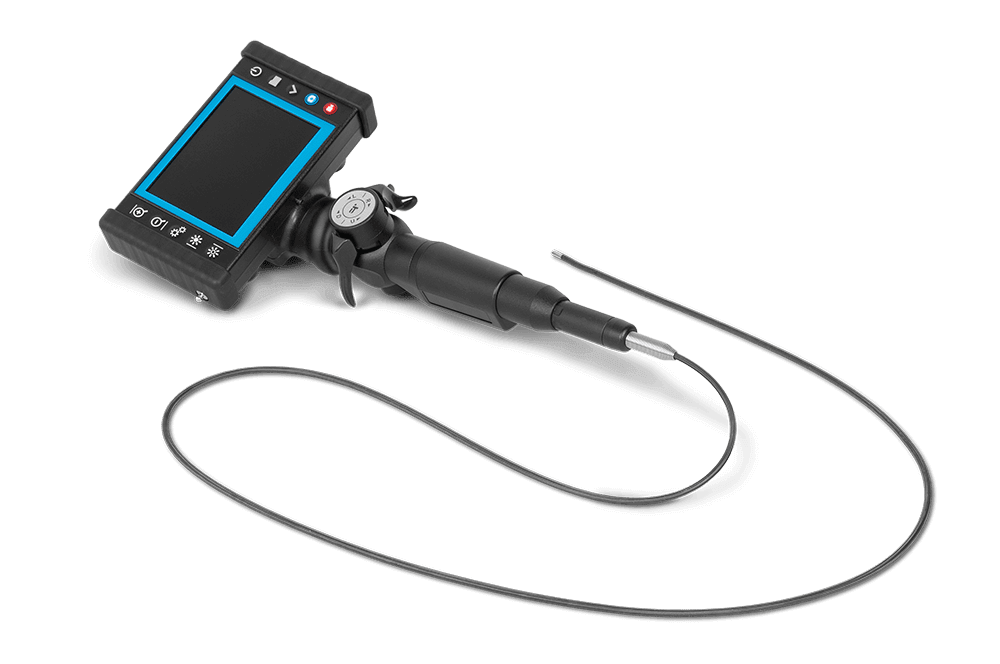
VIDEOSCOPE-XT
An explosion-proof product family to evaluate when the inspection location is classified.
View product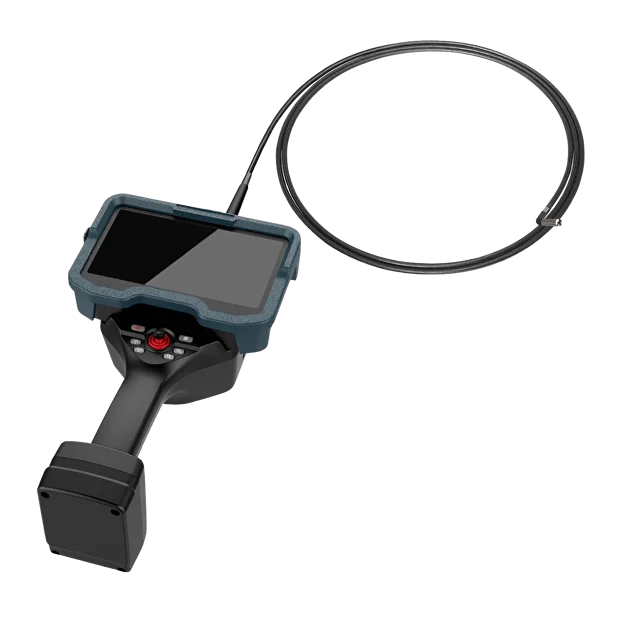
NEXUS X5 3D Stereo Measurement Videoscope
A measurement-capable platform for applications that require dimensional evaluation of visible indications.
View product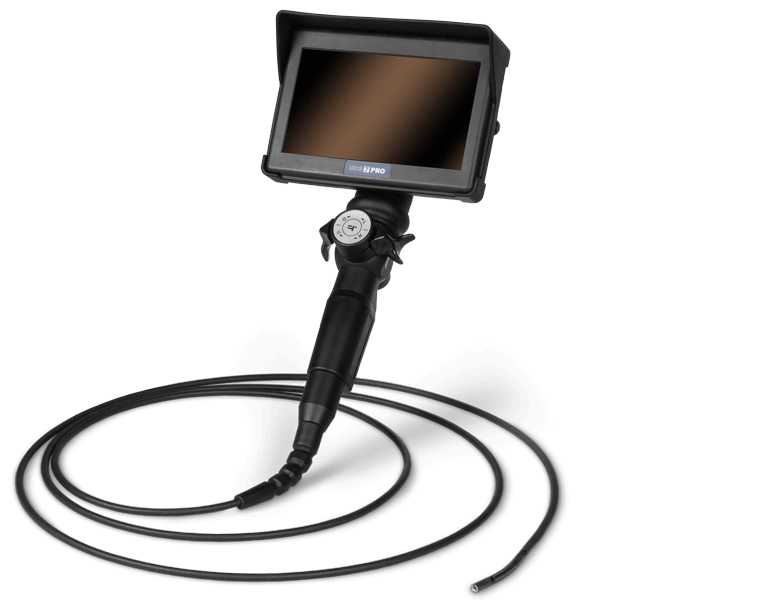
IRIS PRO Industrial Videoscope
An industrial videoscope option for articulated inspection and image or video documentation.
View product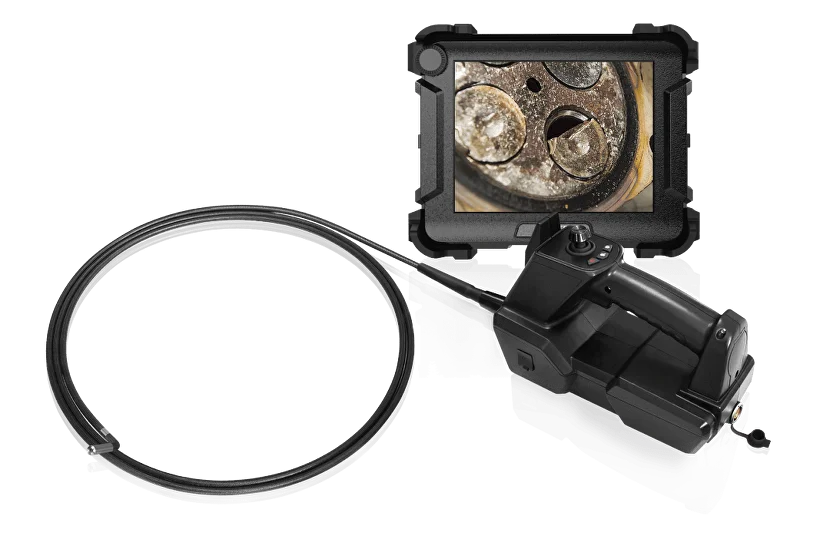
VOYAGER C68HD
An industrial video borescope platform to compare for demanding internal visual inspections.
View productImage samples
Examples from inspection systems
Video samples
Inspection footage and demonstrations
USB Camera with Rigid Borescope | Metal Casting Inspection
IRIS DVR X Videoscope 4 mm | Video Capture Sample
IRIS PRO Industrial Videoscope | Metal Part Inspection
Digital Micro Borescope MICRON | Small Part Inspection
Advice and limitations
Know what the image can—and cannot—prove
Image quality depends on access, lens condition, lighting, working distance, surface preparation and operator control. Record those constraints with the findings.
- Isolate, depressurize, drain and prepare equipment under the site's approved procedure before insertion.
- Do not assume a waterproof probe is compatible with every chemical or process fluid.
- A visible indication may require another NDT method or teardown for confirmation.
- Visual images alone do not establish remaining wall thickness or hidden material condition.
- For hazardous areas, verify the complete device certification against the exact site classification.
FAQ
Pump and valve borescope questions
Can a pump or valve be inspected without complete disassembly?
How should probe diameter be selected?
When is articulation important?
Why use side-view optics?
Can a borescope contact residual process fluids?
When is a measurement videoscope needed?
Can a standard videoscope be used in a hazardous area?
What are the main limitations of RVI?
Final recommendation
Send the route details, not just the component name
The most useful request includes the access-port diameter, narrowest restriction, distance, number of bends, target orientation, process residue, required measurement and hazardous-area classification. FIBERSCOPE can then help narrow the configuration without relying on unsupported assumptions.