Building inspection · hidden access · visual evidence

Building borescopes and videoscopes: inspect hidden spaces without unnecessary demolition.

A stain, odor, blockage, or unexplained fault may begin where no one can see. An inspection camera can help you look inside the space, document what is visible, and plan a more targeted next step.

Building inspection guideWalls, ducts and pipesRemote visual inspection
Building inspection with a videoscope

The hidden access problem

Why hidden building problems are hard to diagnose

The visible symptom is often not the source.

A wall stain, musty odor, slow drain, or inconsistent airflow can point to a problem behind a finished surface or deep inside a system.

Opening a wall or removing ductwork before locating the issue can create avoidable repair work. Yet leaving the condition unseen makes it harder to explain the concern to an owner or decide what to investigate next.

Building borescopes and videoscopes give inspectors, plumbers, HVAC technicians, restoration contractors, and maintenance teams a way to check accessible hidden areas first. The camera can show visible conditions; it does not, by itself, prove the cause of a leak, identify a substance, or replace other required testing.

Start with the question. What hidden condition would change the inspection report or repair plan if you could see it?
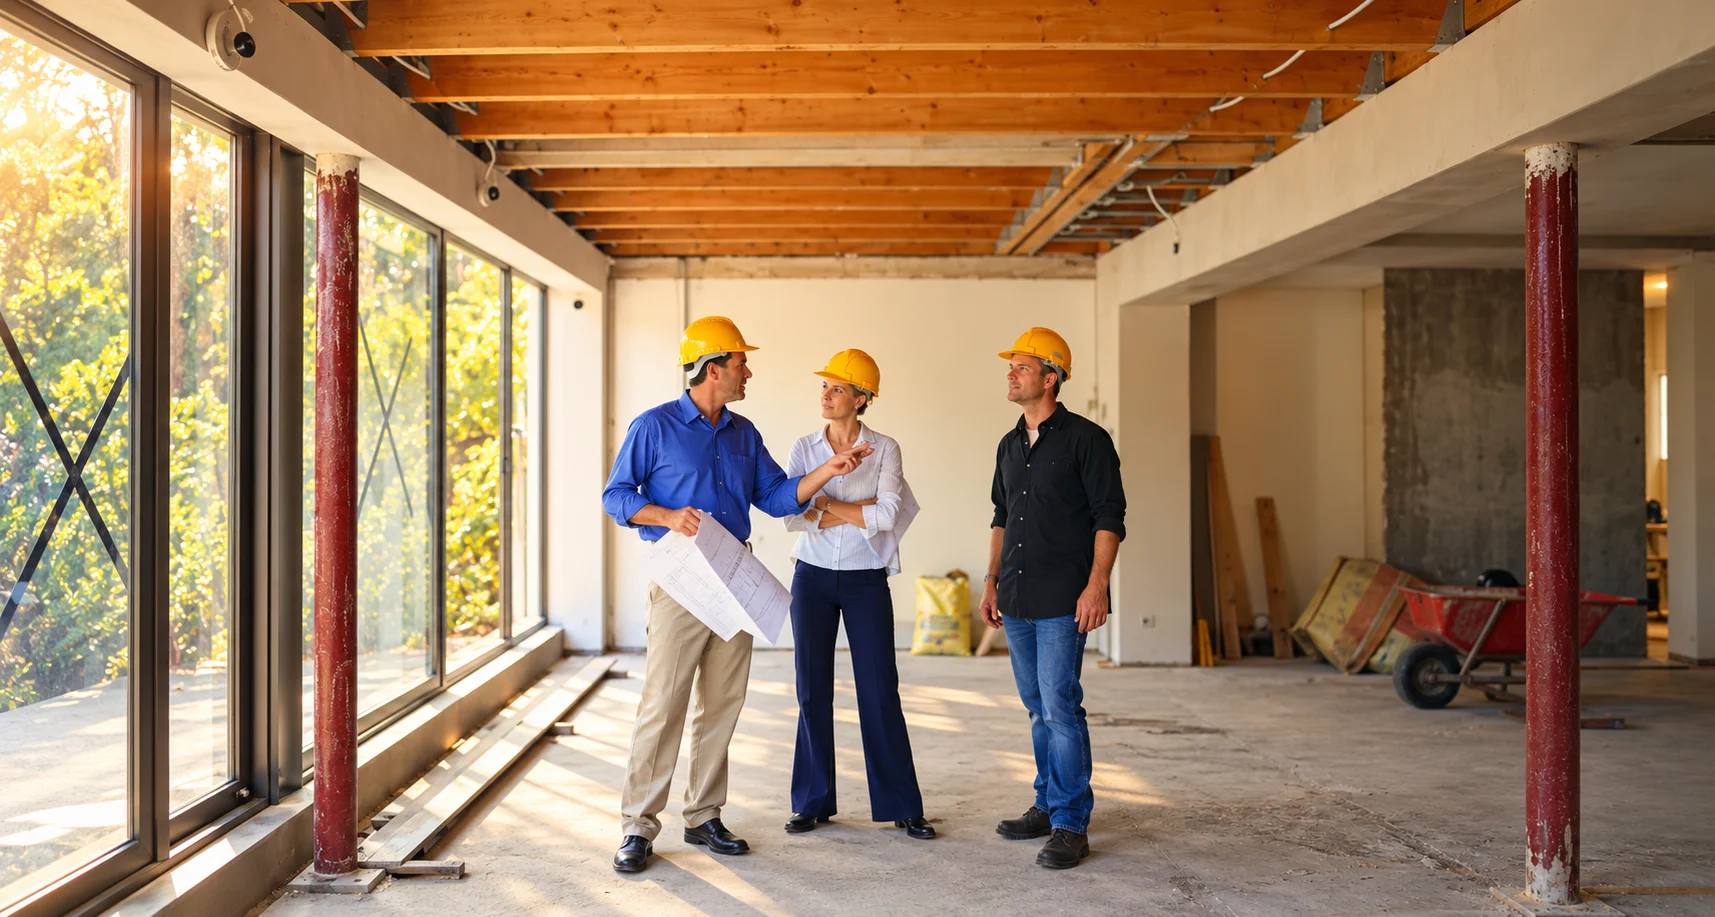
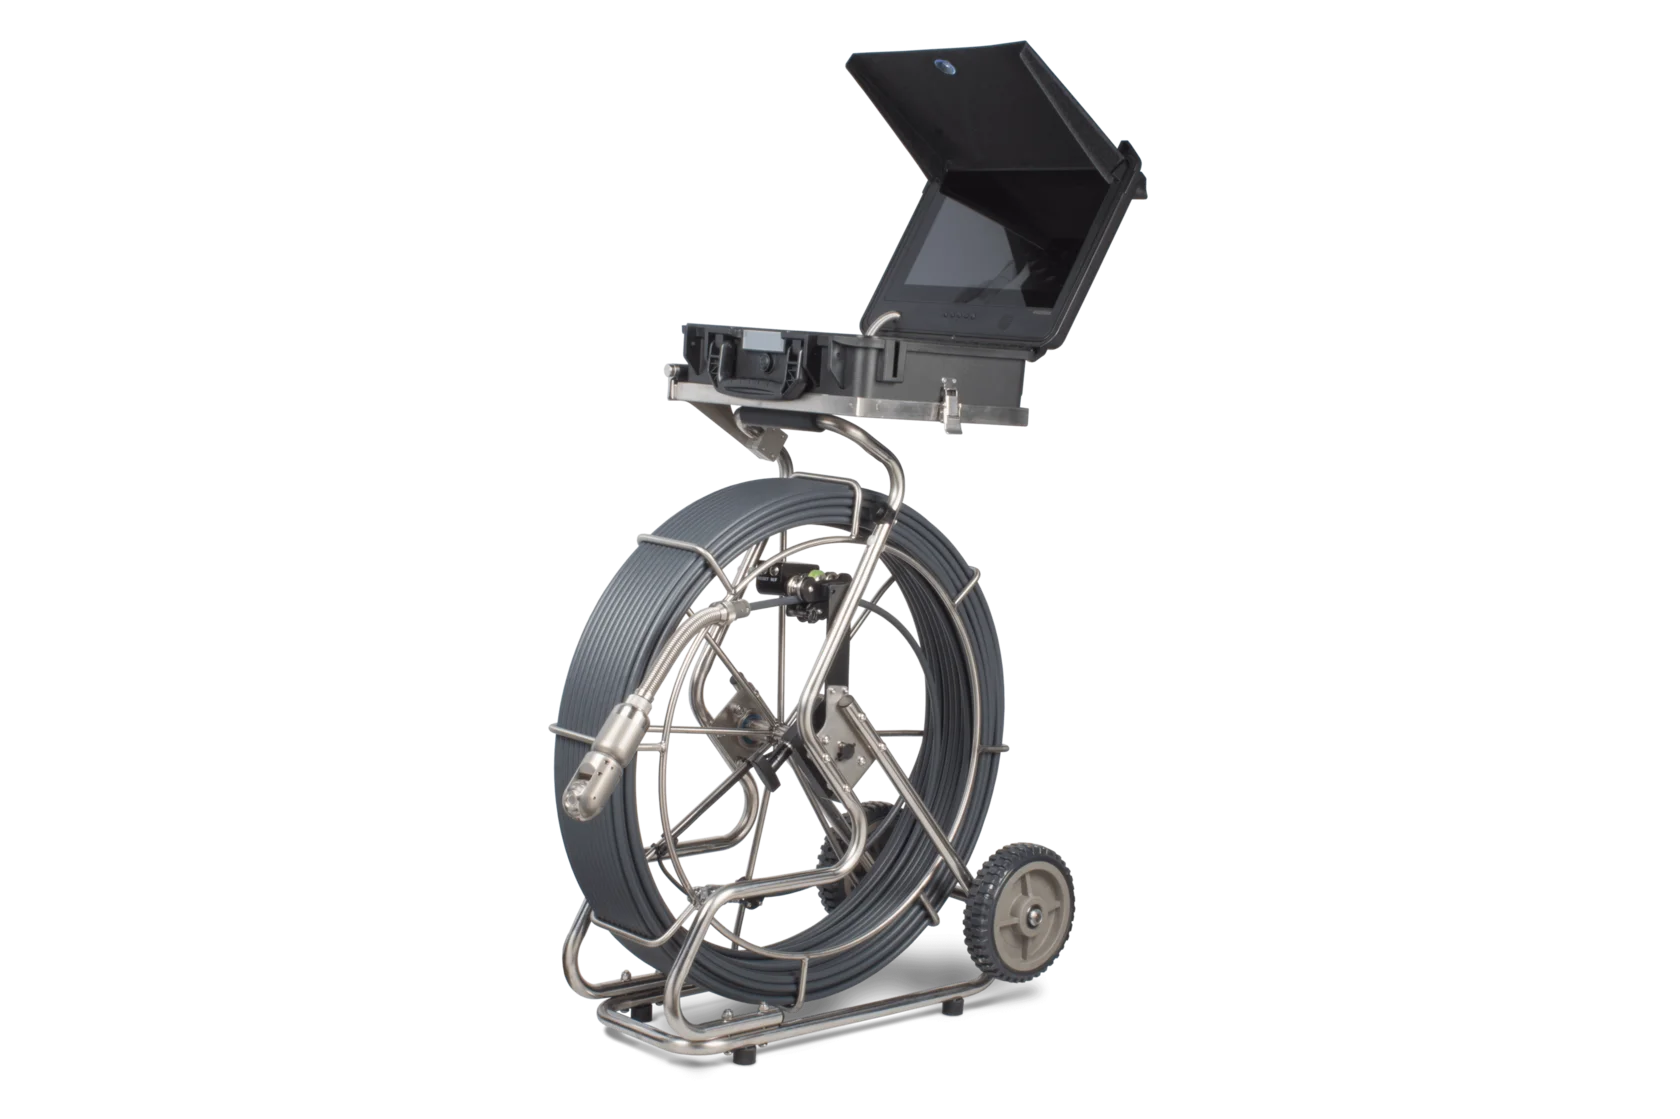
What the camera can reach

What building borescopes and videoscopes help inspect

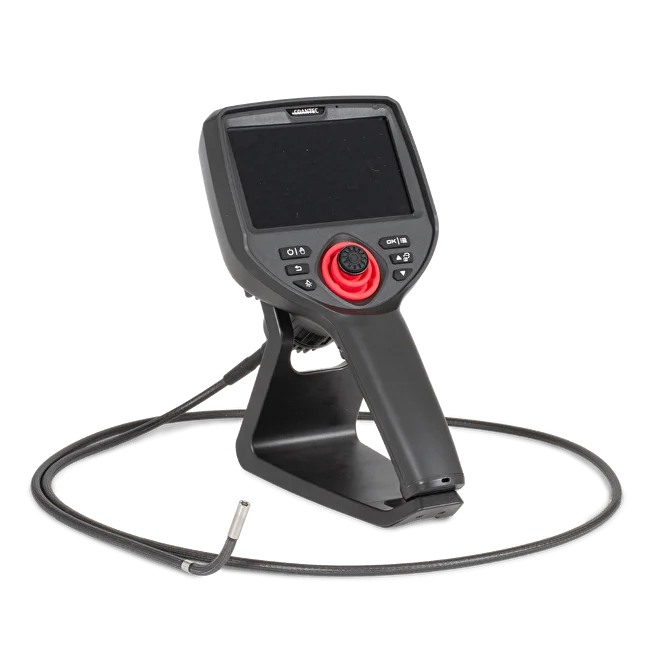
A building borescope is a remote visual inspection tool for hidden or hard-to-access areas. A videoscope adds a camera and live display; many models can also record images and video.

01

Wall cavities

Check accessible spaces for visible moisture damage, debris, pests, insulation gaps, or poor workmanship.

02

HVAC ducts

Look for visible buildup, damage, disconnected sections, or obstructions along a reachable duct route.

03

Drains and pipes

Inspect suitable lines for visible blockages, cracks, corrosion, buildup, or damaged sections.

04

Ceilings and floors

See into accessible voids without first removing a large finished surface.

05

Mechanical spaces

Examine tight equipment areas, shafts, flues, and other locations where direct sight is limited.

06

Crawl spaces

Document reachable hidden surfaces when physical access or viewing position is constrained.

From symptom to evidence

How remote visual inspection reduces guesswork

Use a camera when a visible symptom suggests a hidden condition, then keep the view tied to its exact location.

01

Define the concern

Identify the stain, odor, flow issue, damage indication, or maintenance question.

02

Confirm access

Locate an existing opening or determine whether a small inspection opening is appropriate.

03

Inspect slowly

Move through the reachable route and record the component, direction, and depth.

04

Decide the next test

Use the visual finding to guide targeted access, testing, cleaning, or repair.

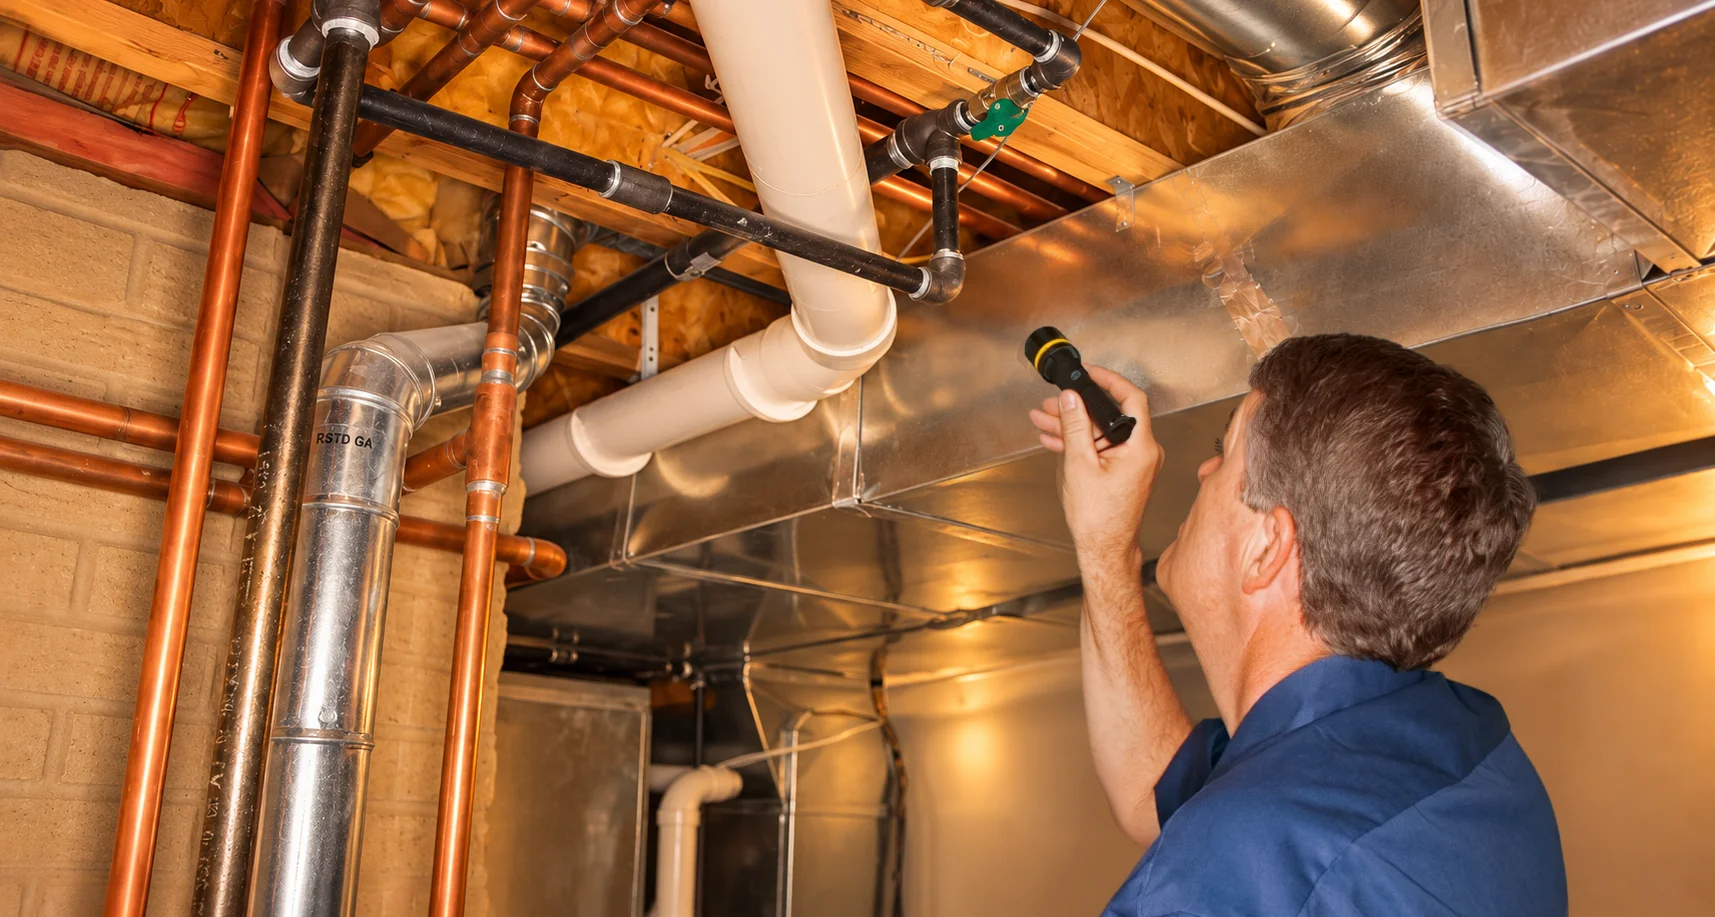
Camera inspecting a hidden building cavity
The image is a starting point, not a diagnosis.

A camera can show visible damage or debris. Moisture readings, material sampling, electrical testing, or other methods may still be needed to establish cause and extent.

Contact us

Choose the camera type

Borescope vs videoscope vs pipe camera: which one fits the job?

The right tool depends on where it must travel and what evidence must be captured.

Borescope

A general tool for close visual access through a small opening into a cavity or component.

Best fit: short, tight inspection routes where the target can be reached and viewed.

Videoscope

A camera-based borescope with a live screen; many systems also capture still images or video.

Best fit: hidden spaces where the view needs to be shared or documented.

Pipe camera

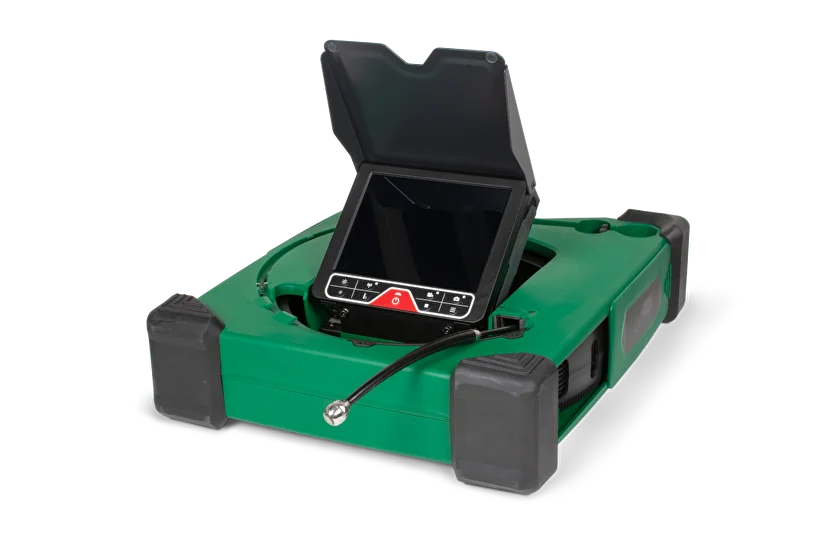
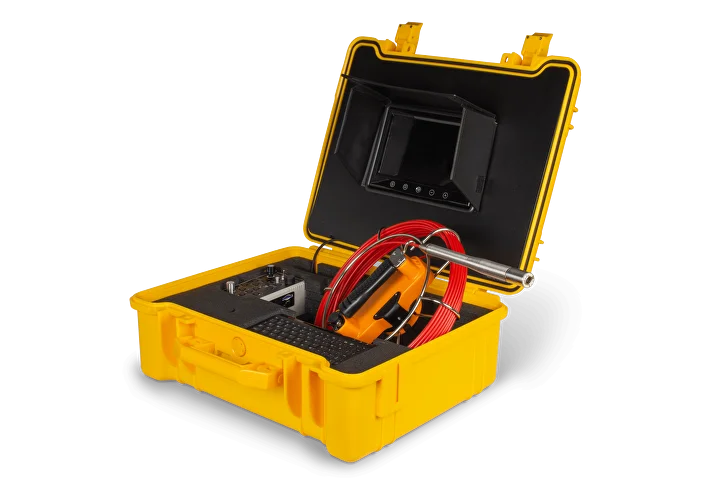
A system designed to travel farther through suitable drains, ducts, and pipe runs.

Best fit: longer runs where reach, bends, and pipe diameter drive the choice.

There is no universal “best” camera. A small flexible videoscope may fit a wall cavity; a longer push camera may be more useful for a drain or duct run.

Buying criteria

What to look for in a building inspection camera

Compare the route and the reporting task before comparing screens or feature lists.

01

Access size

Measure the opening and choose a probe or camera head that can pass through it.

02

Reach and bends

Match working length, flexibility, and tip control to the path inside the cavity or line.

03

Viewing direction

Check whether a forward, side, dual, or articulating view can show the surface of interest.

04

Lighting and detail

Confirm that the image remains usable in the actual space, including reflective or wet surfaces.

05

Documentation

Choose photo or video capture when the finding must appear in a report or estimate.

06

Jobsite conditions

Check water exposure, durability, power, and any environment-specific limits for the exact model.

Common applications

How building and home inspectors use the view

The camera is most valuable when its finding changes the next inspection or repair decision.

01 · PROPERTY INSPECTION

Investigate a wall stain

Use a suitable access point to look for visible damage or a likely route for further testing before recommending a large opening.

02 · HVAC

Check an airflow complaint

Inspect reachable duct sections for visible debris, obstructions, or disconnected components.

03 · PLUMBING

Locate a line problem

Use a camera suited to the drain or pipe size and length to document visible buildup or damage.

04 · RESTORATION

Plan targeted access

Pair a visual inspection with appropriate moisture or material testing to decide where further opening is justified.

Evidence that travels

How visual documentation supports reports and repair decisions

A live view helps the person holding the camera. A well-labeled recording helps everyone who must review the finding afterward.

01 · LOCATIONRecord the room, access point, system, and approximate position of the camera.
02 · ORIENTATIONNote viewing direction and depth so a close-up can be understood later.
03 · FINDINGCapture the visible condition before cleaning, disassembly, or repair changes it.
04 · NEXT STEPConnect the image to the recommended test, targeted opening, maintenance, or repair.

Inspection images

VIPER · Corrugated duct snapshot

Handheld reel options up to 131 ft (40 m), interchangeable camera-head configurations, and image/video recording.

ANACONDA · HVAC duct snapshot

Pan-and-tilt or self-leveling camera-head options, image/video capture, and up to 120 m (394 ft) cable.

MiniFlex · Pipe inspection footage

For pipes from 1¼ in. with the 19 mm head; designed to navigate P-traps and tight bends.

Inspection videos

Air Duct Survey with ANACONDA HD Pipe Camera

MiniFlex Plumbing Camera for Home and Pool Inspectors

Keep the limitation in the report. A photo documents what was visible at that inspection point; it does not establish conditions beyond the camera's view.

Choosing the system

Choosing the right inspection camera for your application

Start with the access opening, route, and reporting requirement—not the most impressive feature on a specification sheet.

For a tight wall cavity, probe diameter and flexibility may matter most. For an HVAC duct, reach, bends, viewing direction, and lighting may determine whether the target is visible. For drains and longer pipe runs, a dedicated pipe camera may be the more practical system.

Then decide what the customer or maintenance team needs to see: a live check, still images, video, or a repeatable record. Confirm water exposure, durability, and the exact model's operating limits before taking the camera into the field.

Useful buying question: Where must the camera go, what surface must it show, and how will the finding be used?

FAQ · Building inspection

Questions and answers

What is the best camera for building inspection?

The best camera for building inspection depends on the access point, inspection distance, and environment. Wall cavities may require a small flexible videoscope, while ducts, drains, and pipes may need a longer push camera with stronger lighting and recording capability.

Can a borescope inspect inside walls?

Yes. A borescope can inspect inside wall cavities when there is an existing access point or a small inspection opening. It can show visible moisture damage, leaks, insulation problems, pest activity, debris, or poor workmanship without opening a large section of the wall.

Can videoscopes be used for HVAC duct inspection?

Yes. Videoscopes and duct inspection cameras can inspect accessible HVAC ducts for debris, blockages, disconnected sections, visible contamination, damage, and installation issues. The right camera depends on duct size, distance, bends, and required image quality.

Are borescopes useful for plumbing inspections?

Yes. Borescopes, drain cameras, and pipe inspection cameras can help plumbers inspect suitable lines, traps, drains, and pipes before deciding on repair work. They can document visible blockages, cracks, corrosion, buildup, or damaged sections.

Do building inspection cameras record photos and videos?

Many professional building inspection cameras can record photos and videos. This documentation can support inspection reports, repair estimates, client communication, maintenance records, and insurance-related work.

How do I choose between a borescope and a pipe camera?

Choose a borescope or videoscope for tight spaces, wall cavities, mechanical areas, and close-range inspections. Choose a pipe camera for longer drain, sewer, or duct runs where the camera must travel farther through a pipe or passage.

Building inspection support

Talk to FIBERSCOPE before you choose a system

Tell a FIBERSCOPE specialist what you need to inspect, the size of the opening, the distance and bends, the jobsite conditions, and the evidence your report requires. They can help compare a borescope, videoscope, or pipe camera for the task.