

Bearing and gearbox inspection guide
Borescopes for Bearings and Gearboxes
Choose an inspection camera around the real route into the gearbox: access diameter, articulation, viewing direction, close focus, lighting control, probe durability, lubricant compatibility and documentation.
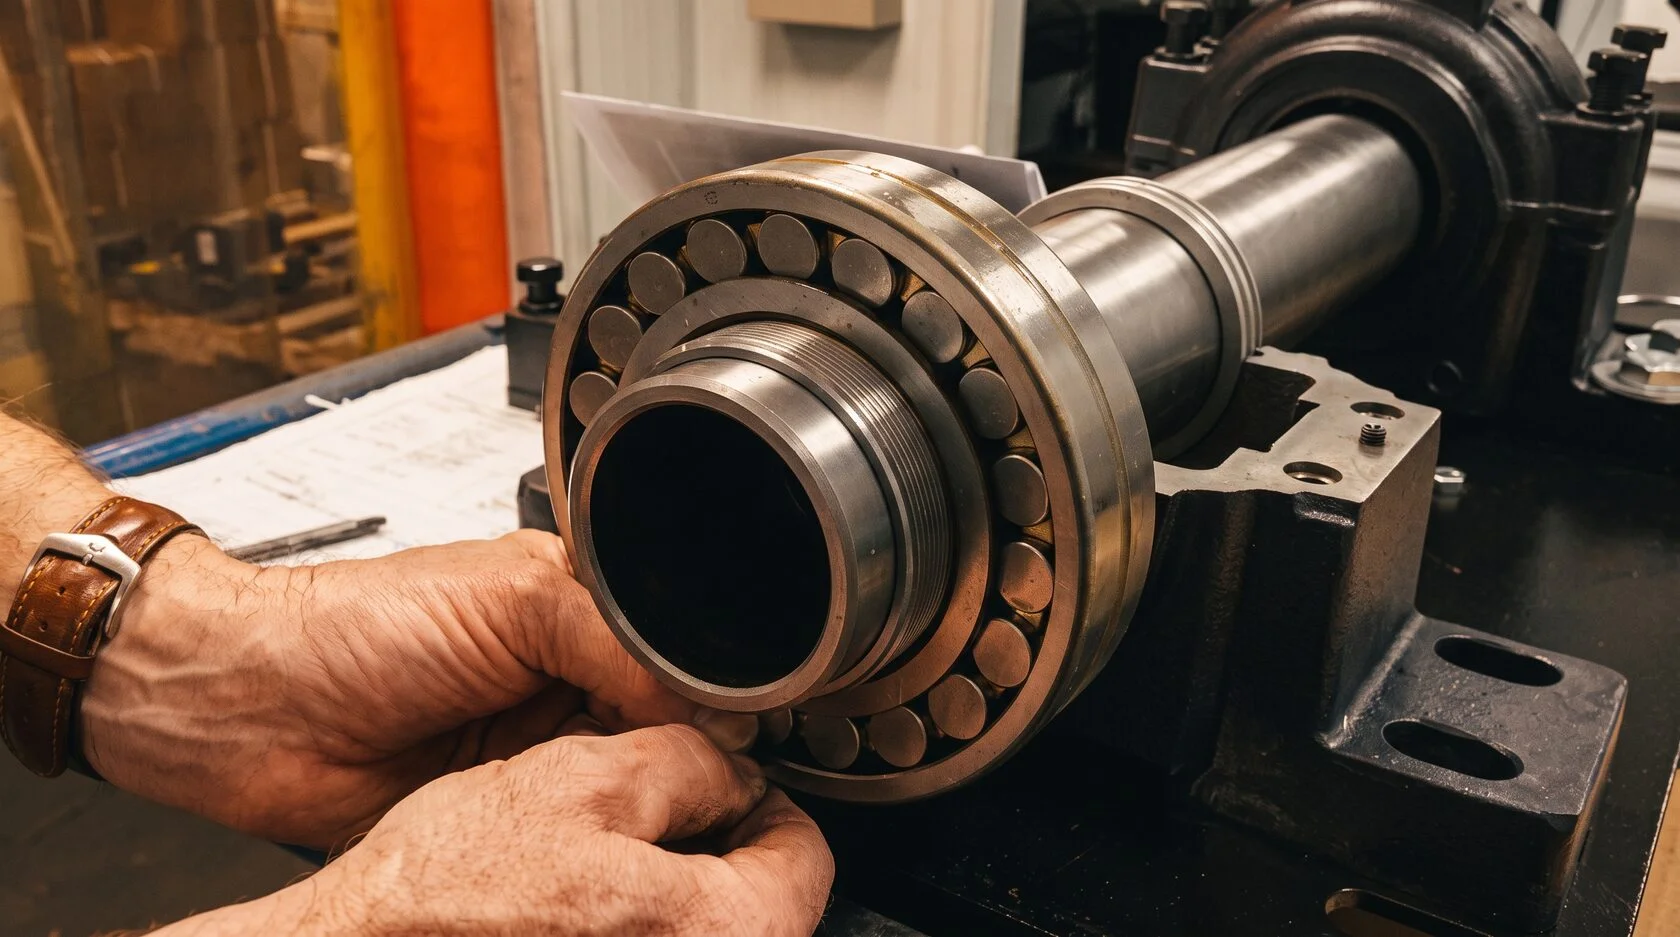
Quick answer: what borescope is best for gearbox inspection?
For many industrial gearboxes, a practical starting point is a small-diameter, four-way articulated videoscope with adjustable illumination, close-focus optics, image/video recording and a durable probe compatible with the lubricant environment. A rigid borescope can be better for short, straight access, while measurement-capable systems may be useful when a visible defect must be dimensionally characterized.
Why RVI matters
Inspect internal gear and bearing condition without complete disassembly
Gearbox defects can develop behind a closed housing while vibration, heat, noise, lubricant condition or performance gives only indirect clues. Through an inspection port, fill opening, drain opening, breather connection or dedicated access point, technicians can inspect accessible gear teeth, bearings, shafts and internal surfaces before committing to a full teardown.
Use existing openings
Inspection may start from an approved port, fill opening, drain opening, breather connection or dedicated access point.
Capture a direct view
RVI adds direct visual evidence to the indirect clues from vibration, oil condition, temperature or noise.
Plan the next step
Images and video help maintenance teams decide what deserves teardown, monitoring or follow-up testing.
Visible findings
What a borescope can reveal inside a gearbox
Pitting, scoring and chipped teeth
Depending on access and visibility, RVI may reveal pitting, spalling, scoring, scuffing, abnormal polishing, chipped teeth, broken teeth, corrosion, discoloration or foreign-object damage.
Rollers, balls, races and cages
Where visible, an inspector may identify roller or ball damage, raceway damage, cage abnormalities, corrosion, scoring, discoloration, unusual wear or debris.
Debris, sludge and loose hardware
Borescope inspection may also reveal loose hardware, damaged locking components, sludge, deposits, metal debris, damaged coatings, seal-area abnormalities or foreign objects.
Inspection challenges
Why gearboxes and bearings are difficult to inspect visually
Oil creates glare
Lubricated gear teeth can reflect LED light like mirrors, so fine brightness control matters.
Gear teeth change orientation
A systematic inspection may require views of the tooth tip, flank, root, loaded side and neighboring teeth.
Access ports rarely point at the problem
Four-way articulation can make the difference between getting the camera inside and actually inspecting something useful.
Bearings can be hidden
Shafts, gears, cages, spacers and housing geometry all interfere with the line of sight.
Very small probes trade off capability
A smaller probe may improve access, but extremely small probes can involve tradeoffs in illumination and sturdiness.
Rotating machinery creates risk
Inspection must follow hazardous-energy control procedures. Do not energize or rotate machinery with a probe inserted unless an approved procedure allows it.
Buying criteria
What to look for in a gearbox inspection videoscope
- Probe diameter: measure the access port and the internal obstructions between the opening and target.
- Articulation: prioritize steering for sweeping across teeth, bearings and hidden surfaces.
- Side-view capability: side view is often better for gear tooth flanks, races and housing walls.
- Adjustable illumination: control glare from oily and reflective metal surfaces.
- Close-focus optics: verify depth of field for tiny pits, scoring and close-up views.
- Probe durability: account for threaded ports, sharp housing edges and machined surfaces.
- Fluid compatibility: confirm compatibility with lubricants and cleaning agents.
- Recording and measurement: document comparable images and consider measurement when visible features need dimensions.
Interactive selection guide
Match the borescope to the gearbox inspection situation
Choose the scenario that creates the main constraint. The result is a starting point, not a substitute for checking the exact access path, lubricant environment and product documentation.
Rigid borescope
A rigid borescope may be the better choice where the access path is short, straight and unobstructed.
- Verify: working length and clearance.
- Choose: direction of view for the target surface.
- Check: close focus and illumination.
Small-diameter videoscope or micro-borescope
When a small threaded access port or tight internal gap controls access, probe diameter becomes the first constraint.
- Measure: port diameter and smallest internal gap.
- Trade off: very small probes may reduce light and sturdiness.
- Confirm: sufficient image detail for the defect size.
Four-way articulated videoscope
Articulation helps the operator sweep across teeth, look around shafts and inspect bearing surfaces without withdrawing the probe.
- Verify: articulation range and bend clearance.
- Plan: safe withdrawal path.
- Document: orientation before close-ups.
Side-view optics or articulated tip
Side view is often better for surfaces that matter most, including tooth flanks, bearing races and housing walls.
- Use: side-view or strong tip articulation.
- Inspect: tooth tip, flank, root and loaded side systematically.
- Compare: neighboring teeth when practical.
Fine LED brightness control
Lubricated surfaces can create hotspots that hide wear patterns, pits or scoring.
- Reduce: light when the image blooms.
- Use: oblique lighting when possible.
- Confirm: lubricant and cleaning-agent compatibility.
Measurement-capable videoscope
If engineering needs more than a general description, a measurement-capable videoscope may be useful.
- Define: detection, trending or measurement goal.
- Confirm: the measurement method suits the visible feature.
- Record: contextual and detailed images.
Selection guide
Gearbox and bearing borescope selection guide
| Inspection situation | Useful feature | Why it matters |
|---|---|---|
| Straight view through a cover | Rigid borescope | Works when the access route is short, straight and unobstructed. |
| Small threaded access port | Small-diameter videoscope | The probe must clear the port and internal restrictions. |
| Gear teeth offset from port | Four-way articulated scope | Steering helps aim at surfaces that do not face the entry point. |
| Tooth-flank inspection | Side-view optics or articulated tip | Side-facing surfaces often matter more than the straight-ahead view. |
| Oily reflective surfaces | Fine LED brightness control | Too much light can hide the wear pattern in glare. |
| Deep internal bearing | Small articulated probe with suitable length | Bearings may be partially hidden behind shafts, gears and cages. |
| Tracking defect progression | Still/video recording | Repeatable images allow comparison with previous inspections. |
| Dimensional characterization | Measurement-capable videoscope | Useful when engineering needs feature dimensions. |
| Suspected non-visible material defect | Complement with another NDT method | RVI shows visible surfaces and should be combined with other data when needed. |
Before buying
Three questions to answer before choosing a gearbox borescope
What is the actual inspection path?
Record the port diameter, target distance, internal obstacles, viewing angle and smallest gap.
What is the smallest defect that matters?
A broken tooth and fine scoring are very different imaging problems; focus, illumination and detail requirements change.
Are you detecting, trending or measuring?
Detection, trend comparison and dimensional measurement require different capabilities.
Inspection sequence
A practical gearbox inspection sequence
Establish safe condition
Follow the appropriate energy-control procedure before inserting the probe.
Choose the shortest practical route
Use the access path that reaches the target with the least unnecessary insertion and handling.
Capture orientation first
Record a contextual image before going deep inside or taking close-ups.
Inspect systematically
For gears, move from tooth tip to loaded flank to root, then on to the next tooth.
Document context and detail
Save both a location image and a close-up of any relevant finding.
Remove before movement
Remove the probe before machinery movement unless an approved inspection procedure explicitly says otherwise.
Suggested products
Recommended borescope platforms for bearing and gearbox inspection
These product families cover different access and inspection situations. Confirm the current configuration, dimensions, environmental rating and suitability for your exact gearbox, bearing or transmission application before selection.
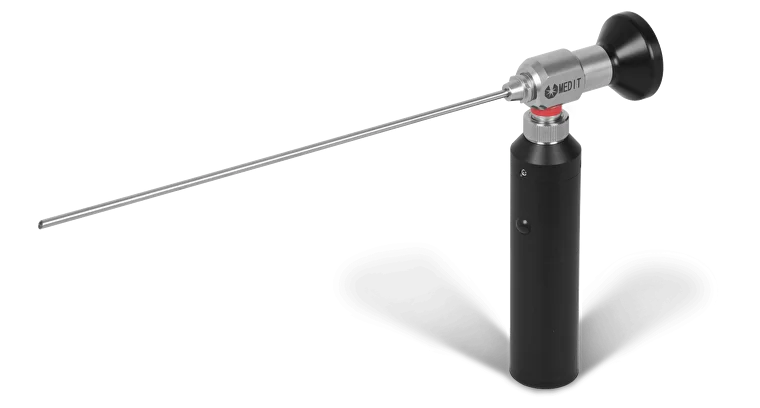
MEDIT Rigid Borescope
For short, straight access through a cover or port where rigid optics fit the route.
View product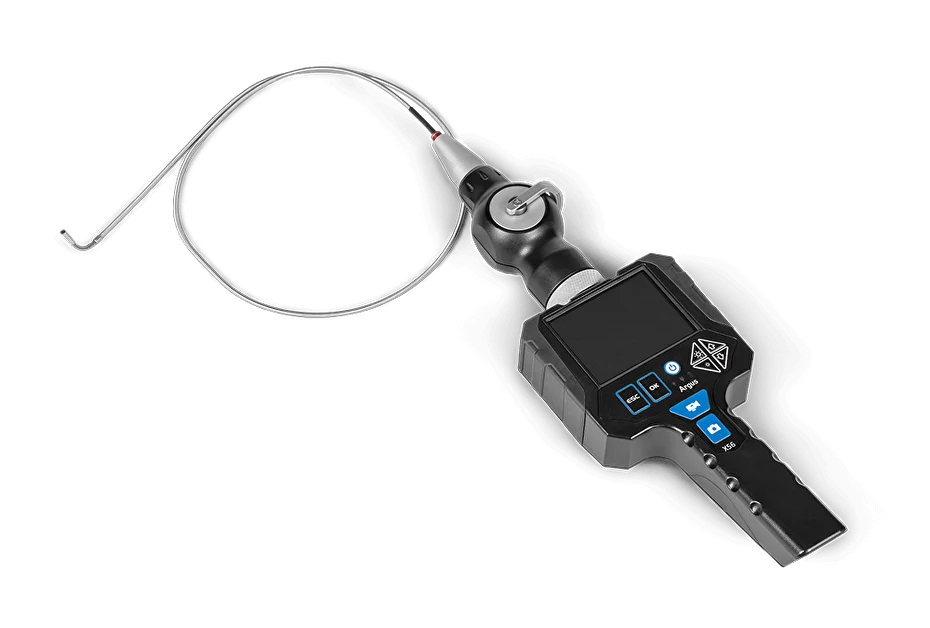
Rigid Video Borescope ORION
A rigid video option for accessible gearbox or bearing surfaces that can be viewed directly.
View product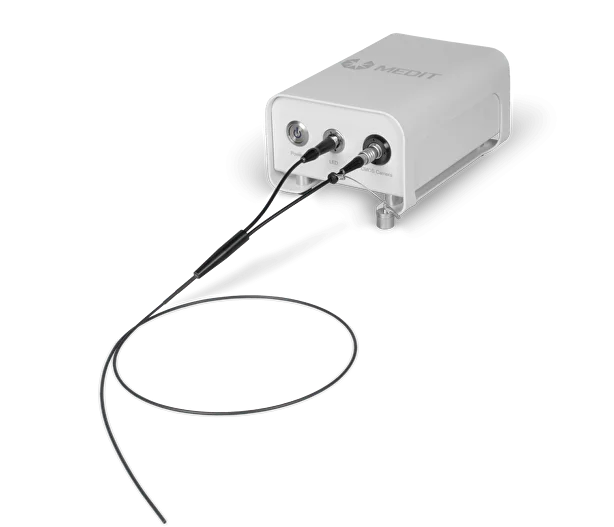
USB Micro Borescope MICRON
A micro-borescope option when a small threaded port or tight internal gap limits access.
View product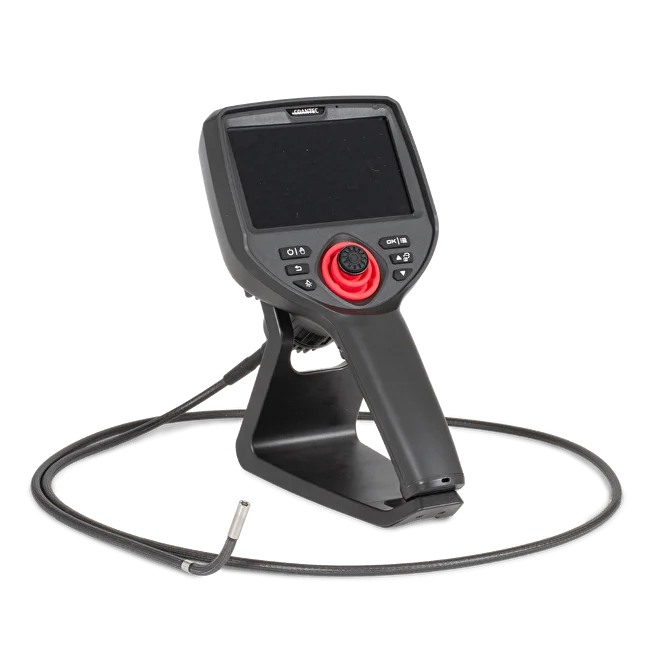
VOYAGER M40 HD Borescope Camera
A flexible inspection platform to compare for gearboxes with longer or more complex access routes.
View product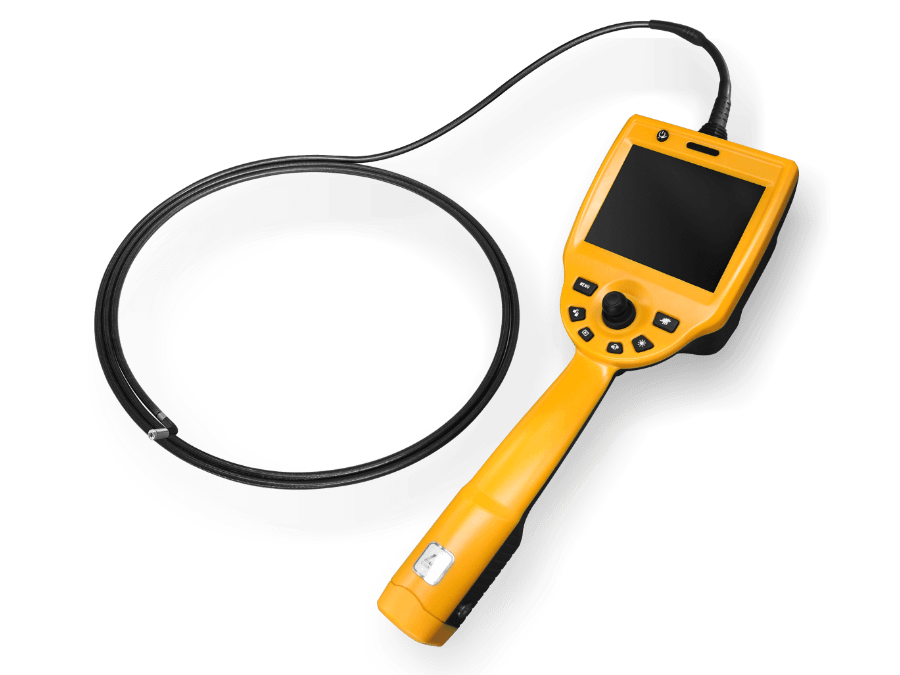
VOYAGER C50 Video Borescope
A video borescope option for detailed visual documentation in industrial inspection work.
View product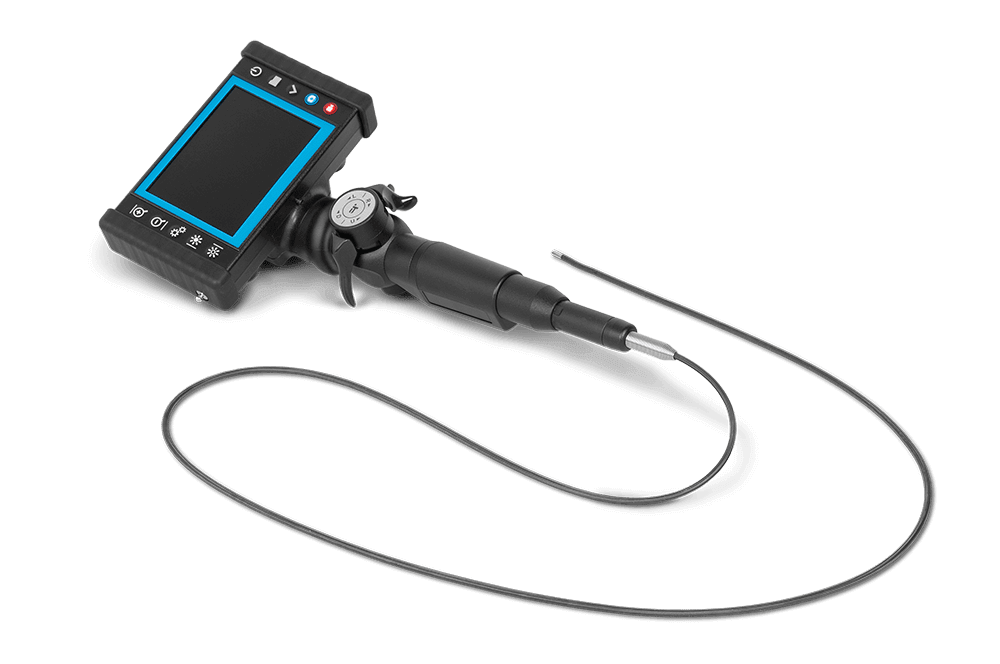
VIDEOSCOPE-XT
An explosion-proof product family to evaluate when the inspection location is classified.
View product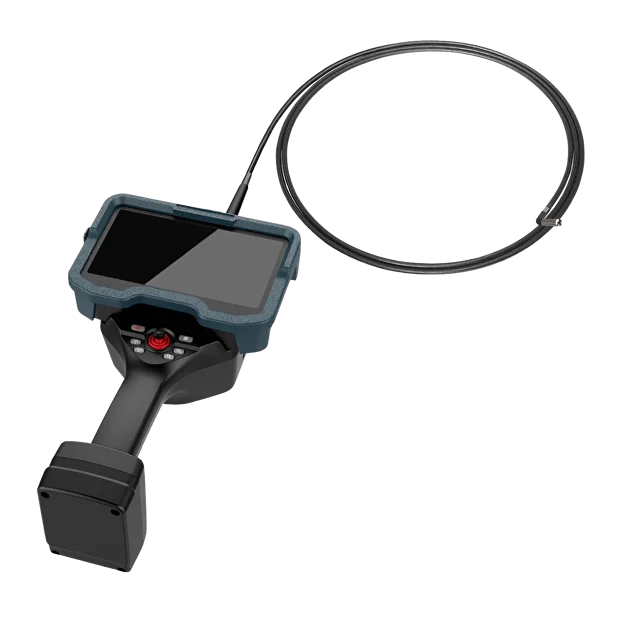
NEXUS X5 3D Stereo Measurement Videoscope
A measurement-capable platform when visible gear or bearing damage must be dimensionally characterized.
View product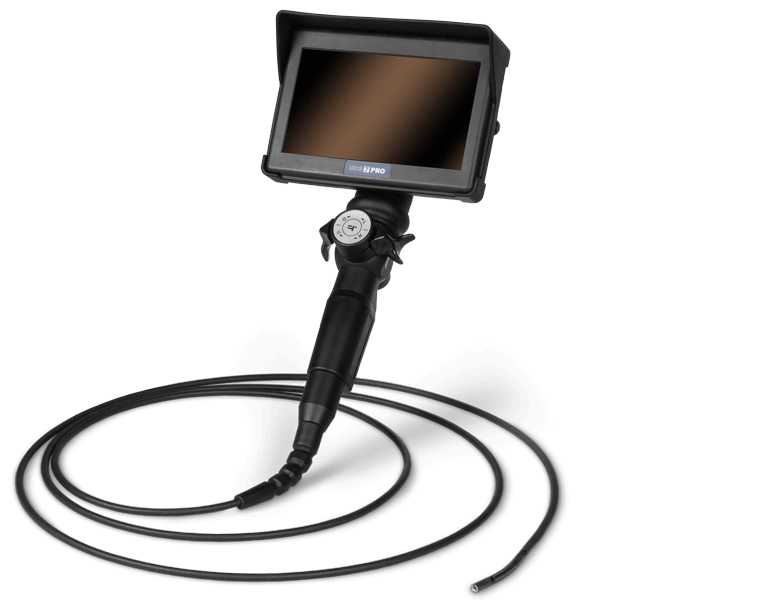
IRIS PRO Industrial Videoscope
An industrial videoscope option for articulated inspection and image or video documentation.
View product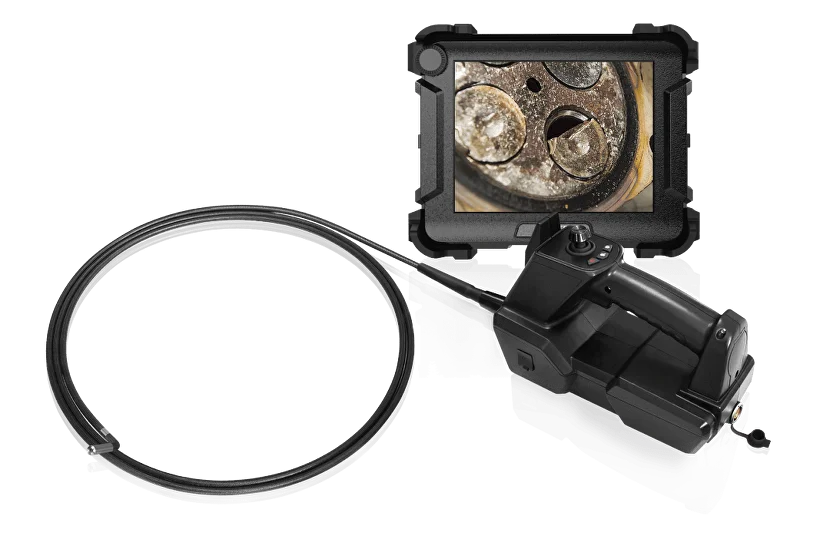
VOYAGER C68HD
An industrial video borescope platform to compare for demanding internal visual inspections.
View productImage samples
Image samples from borescope inspection systems
Video samples
Inspection footage and demonstrations
USB Camera with Rigid Borescope | Metal Casting Inspection
IRIS DVRx Videoscope 4mm | Video Capture Sample
IRIS PRO Industrial Videoscope | Metal Part Inspection
Digital Micro Borescope MICRON | Small Part Inspection
Condition data
Combine borescope findings with other condition data
Visual evidence becomes stronger when viewed alongside vibration trends, lubricant analysis, temperature data, acoustic monitoring and operating history. A vibration alarm tells you something is happening; the borescope may help show what.
- Visual inspection should be treated as part of the condition-monitoring picture.
- RVI does not replace vibration analysis, oil analysis, temperature trends or acoustic monitoring.
- Do not force the probe around sharp teeth, edges or obstructions.
- Probe repair is expensive; leaving damaged probe material inside a gearbox is worse.
- Longer probes and more megapixels are not automatically better.
FAQ
Bearing and gearbox borescope questions
What borescope is best for gearbox inspection?
When is a rigid borescope enough?
Why is articulation important for bearing and gearbox inspection?
Why do oily gearbox surfaces need adjustable light?
Can a borescope replace vibration or oil analysis?
Can machinery be rotated with a probe inserted?
When is a measurement-capable videoscope useful?
Final recommendation
Send the gearbox route details, not just the equipment name
The right camera is the one that can get into the gearbox, reach the component, point at the surface, focus at the required distance and produce evidence the maintenance team can actually use. Send the gearbox model or drawing, access-port diameter, distance to the gears or bearings, lubricant environment and the type of defect you need to identify.