

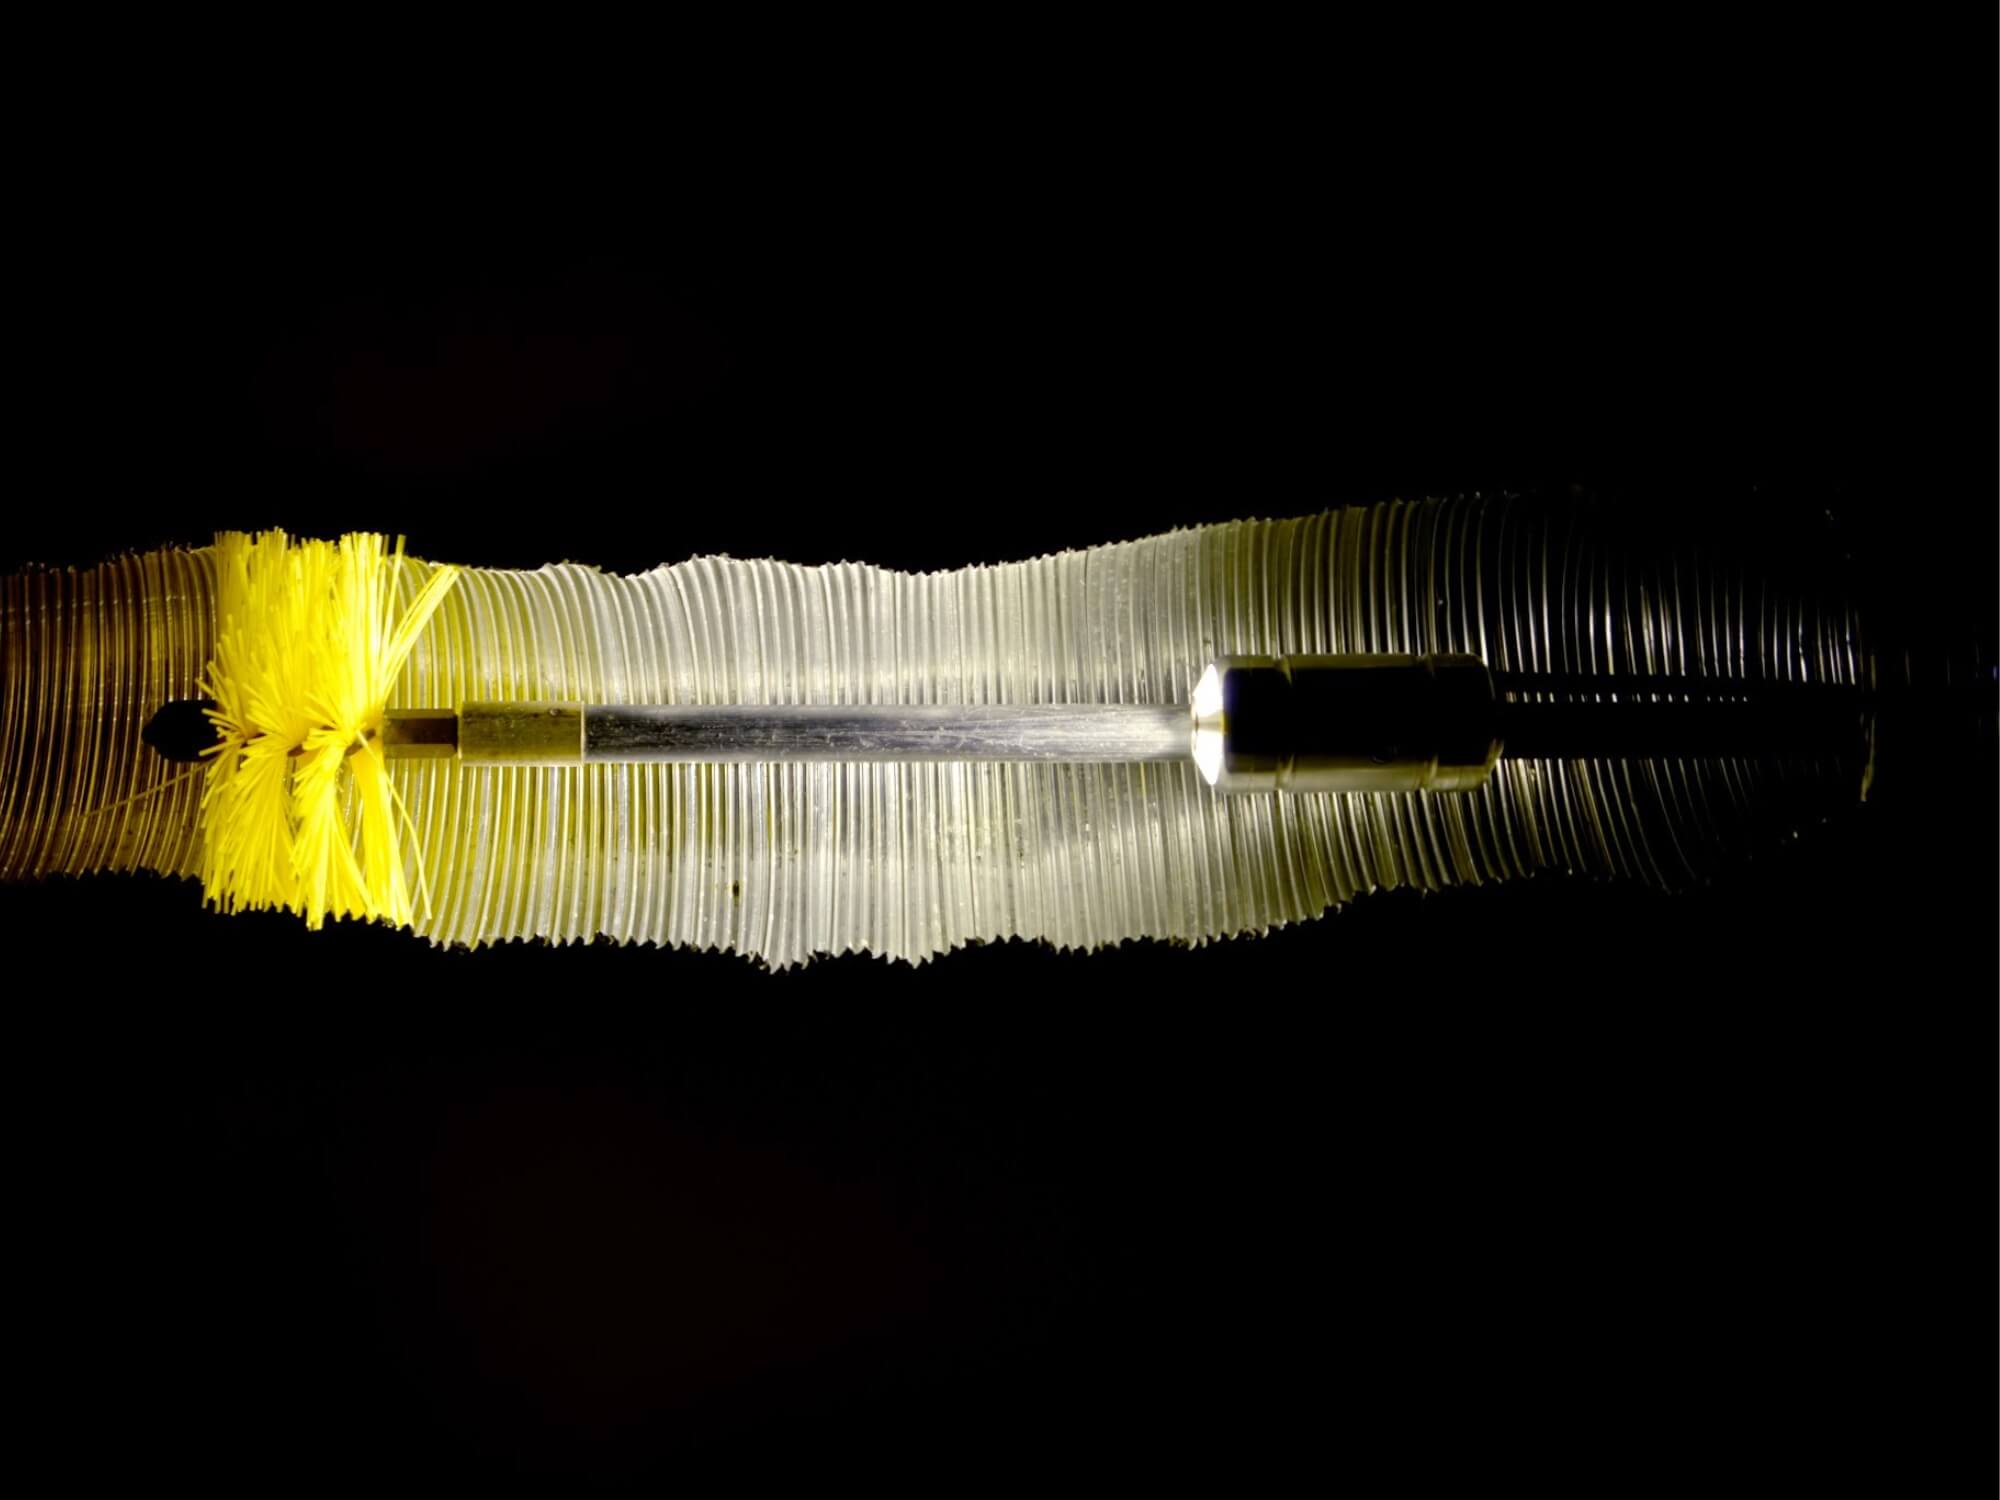
The short answer
Access direction decides the camera type; the liner decides the head. If you can only work from the roof and the flue runs straight, drop a camera. If you enter from the firebox, a thimble or a cleanout, or the flue has offsets, push one. If the report has to show joints, cracks and gaps in the liner, use a head that can look sideways.
| Camera type | Typical entry | Route it handles best | What it shows | Watch for |
|---|---|---|---|---|
| Drop camera (head on a flexible cable) | Top of the flue, cap removed | Straight vertical runs; gravity does the work | Forward view down the flue; dual-view heads add a side camera | Head hangs and rotates freely; hard to steer into an offset |
| Push camera (head on a semi-rigid push rod) | Firebox, thimble, cleanout, or the top | Bottom-up runs, horizontal connectors, routes with offsets | Forward view; self-leveling heads keep the picture upright | Forward view can pass sidewall defects without showing them clearly |
| Pan-and-tilt head (on a push rod or drop cable) | Top or bottom, where the larger head fits | Flues the head can pass: 2″ standard, about 1.3″ compact | Aims at joints, cracks and transitions instead of only looking ahead | Larger head; must pass the damper throat, cap opening and liner |
| Pole camera | Roof, attic, shaft openings | Short, elevated or remote viewing points | Looks into the opening, the smoke chamber, or attic penetrations | Reach limited by pole length; does not travel the flue |
| Compact borescope | Small openings, short reach | Spot checks behind a damper or into a small opening | Close-up of one area | Not built for full flue runs, cable management or lighting a large liner |
Why camera choice matters for a Level II inspection
The US chimney inspection standard, NFPA 211, defines three inspection levels, and the Chimney Safety Institute of America (CSIA) summarizes them for the trade. A Level II inspection adds attics, crawl spaces and basements to the Level I scope, and includes "a visual inspection by video scanning or other means" of the flue liners (CSIA).
CSIA lists the usual Level II triggers:
- a change in fuel type, or replacing or adding an appliance of a dissimilar type, input rating or efficiency;
- the sale or transfer of a property;
- a building fire, chimney fire or seismic event.
CSIA's Level II procedure for masonry chimneys states that "video scanning (or similar inspection) of the chimney interior is required," and that when a scan isn't possible because of flue size or multiple offsets, the inspector notes it in the report (CSIA Level II SOP). In practice, that makes the camera's fit and reach part of whether you can complete the inspection at all.
Start with the route, then choose the camera
Before the visit, or on the roof, record these. They decide the camera more than any feature list:
- Smallest opening on the route. Cap opening, damper throat, thimble, and the liner's inside dimension. The head, plus any centering skid, has to pass all of them.
- Liner shape and size. Round metal liners and rectangular clay tile behave differently: a small head drifts to one side of a large rectangular flue, which changes what the camera can light and frame.
- Height and offsets. Total flue length from the access point, plus the number and angle of offsets. A drop camera works with gravity; a push rod has to be guided through each bend.
- Access direction. Roof only, firebox only, or both. Roof access may need a safe working platform; firebox access may be blocked by the damper or smoke shelf.
- What the report must show. Just "clear and open," or the condition of each liner joint, cracks and gaps, and unused openings.
- Deposits. Heavy soot or glazed creosote changes lighting and can hide the liner surface; the flue may need cleaning before a detailed scan.
Push, drop and pan-and-tilt from the same access point
Drop cameras: fastest from the top
A drop camera is lowered on a flexible cable, usually from the roof, and gravity carries it down the flue. It is quick to deploy and gentle on liners. The limits: the head hangs on its cable, so it can turn and swing, and it cannot be steered into an offset. A dual-view head, with a forward camera and a fixed 90° side camera, lets the operator check sidewalls while the head descends.

Push cameras: when you start at the bottom
A push camera rides on a semi-rigid fiberglass rod that transmits force, so it can climb from the firebox or a cleanout, cross a horizontal connector and be worked through an offset. A self-leveling head keeps the picture upright as the rod twists, which makes joints easier to follow. A forward-view head is good for travel and blockages; on its own it can pass a sidewall defect without showing it clearly.
Pan-and-tilt: when the liner is the job
A pan-and-tilt head lets the operator stop and aim the camera at a joint, crack, transition or thimble opening instead of only looking ahead. It is the strongest option for detailed liner documentation, but the head is larger than a basic push-camera head (2″ standard, 1.3″ compact on the systems below), so check it passes the damper throat, the cap opening and the liner before you plan on it.
Pole cameras and borescopes for the rest of the job
A Level II scope includes accessible attics, crawl spaces and basements. A pole camera reaches attic penetrations, the smoke chamber or a shaft opening without climbing in. A compact borescope handles a quick look behind a damper or into a small opening, but it is not built to light and travel a full flue.
Lighting limits inside a flue
Resolution only helps once the surface is lit evenly. Flues make that harder than most inspection routes:
- Dark deposits absorb light. Soot and creosote soak up illumination, so detail fades quickly with distance. Lower the camera slowly and stop at each joint.
- Glazed surfaces reflect it. Shiny deposits and metal liners can wash out the image close to the head. Adjustable LED brightness lets you turn the light down instead of losing the frame to glare.
- Large flues spread it thin. A small head in a large rectangular flue sits close to one wall and far from the others. Expect uneven lighting, and plan a pass that looks at each wall.
- Side views need their own light. A forward-view head lights what is ahead. Dual-view and pan-and-tilt heads carry lights for the direction they look, which is what makes sidewall footage usable.
What to record so the footage is useful later
Video is only evidence if someone else can tell where each frame was taken. Build the same sequence into every inspection:
| Record | Why |
|---|---|
| Start point and direction (top-down or bottom-up), flue identified on multi-flue chimneys | Anyone reviewing the file knows which flue and which way the camera traveled |
| Each liner joint, with a pause | CSIA's Level II procedure includes checking the liner for cracks or gaps |
| Offsets: location and angle, and whether the flue narrows in the offset | Both are items in CSIA's Level II masonry chimney procedure |
| Unused openings (thimbles) seen from inside | CSIA asks inspectors to look for them and recommend sealing |
| Deposits and obstructions, with position | Supports a cleaning recommendation and a before/after comparison |
| Sections that could not be viewed, and why | CSIA asks for a note when flue size or offsets prevent a scan |
| Still images of every finding, plus the full video | Stills go in the report; the full run backs them up |
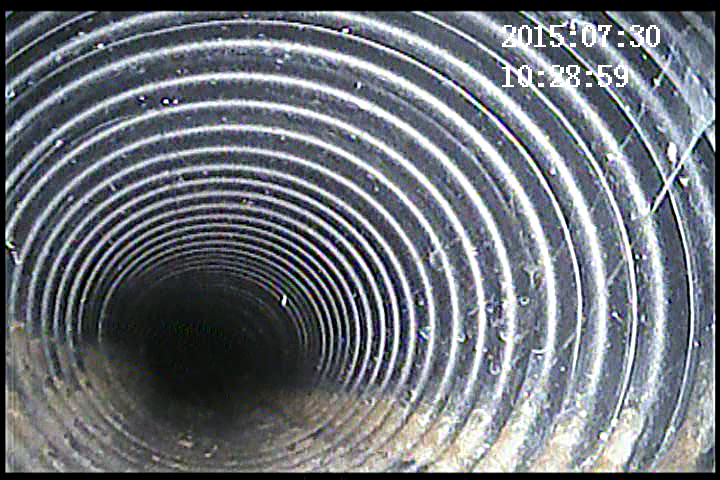
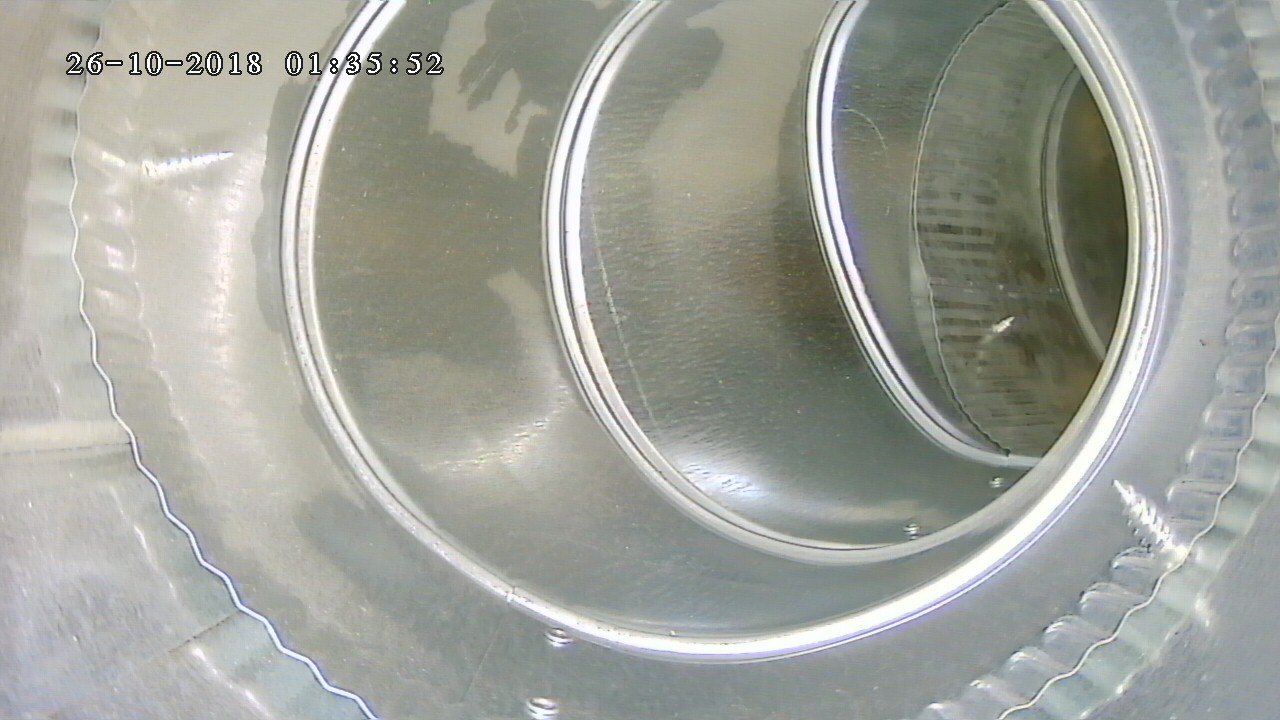
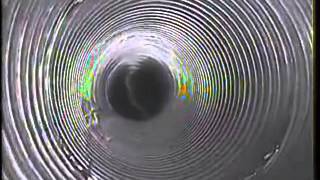
What footage from these cameras looks like
Fiberscope equipment to consider
Matched to the camera types above. Specifications are taken from the current product pages; ask us to confirm the configuration for your flues.
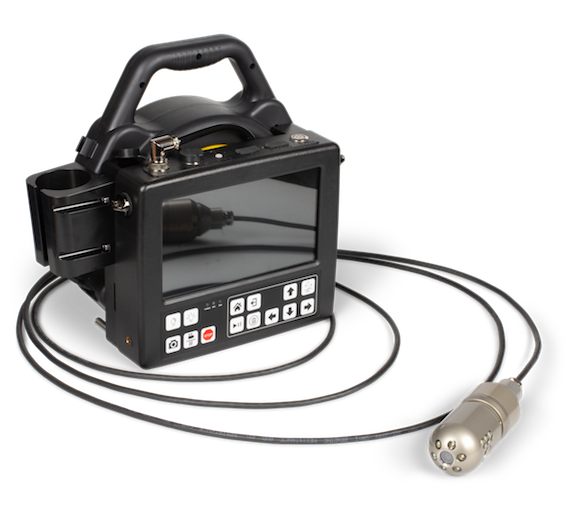
DUCT-SCAN MICRO
For top-down drops in vertical flues and ductwork, with a side camera for the walls.
- 65 ft (20 m) drop cable stored in the unit
- Dual-view head: straight and 90° side view, 360° endless pan, 1.77″ (45 mm)
- Optional 2″ (50 mm) pan-and-tilt head, 360° / 180°
- Adjustable LED brightness; 1280×720 display
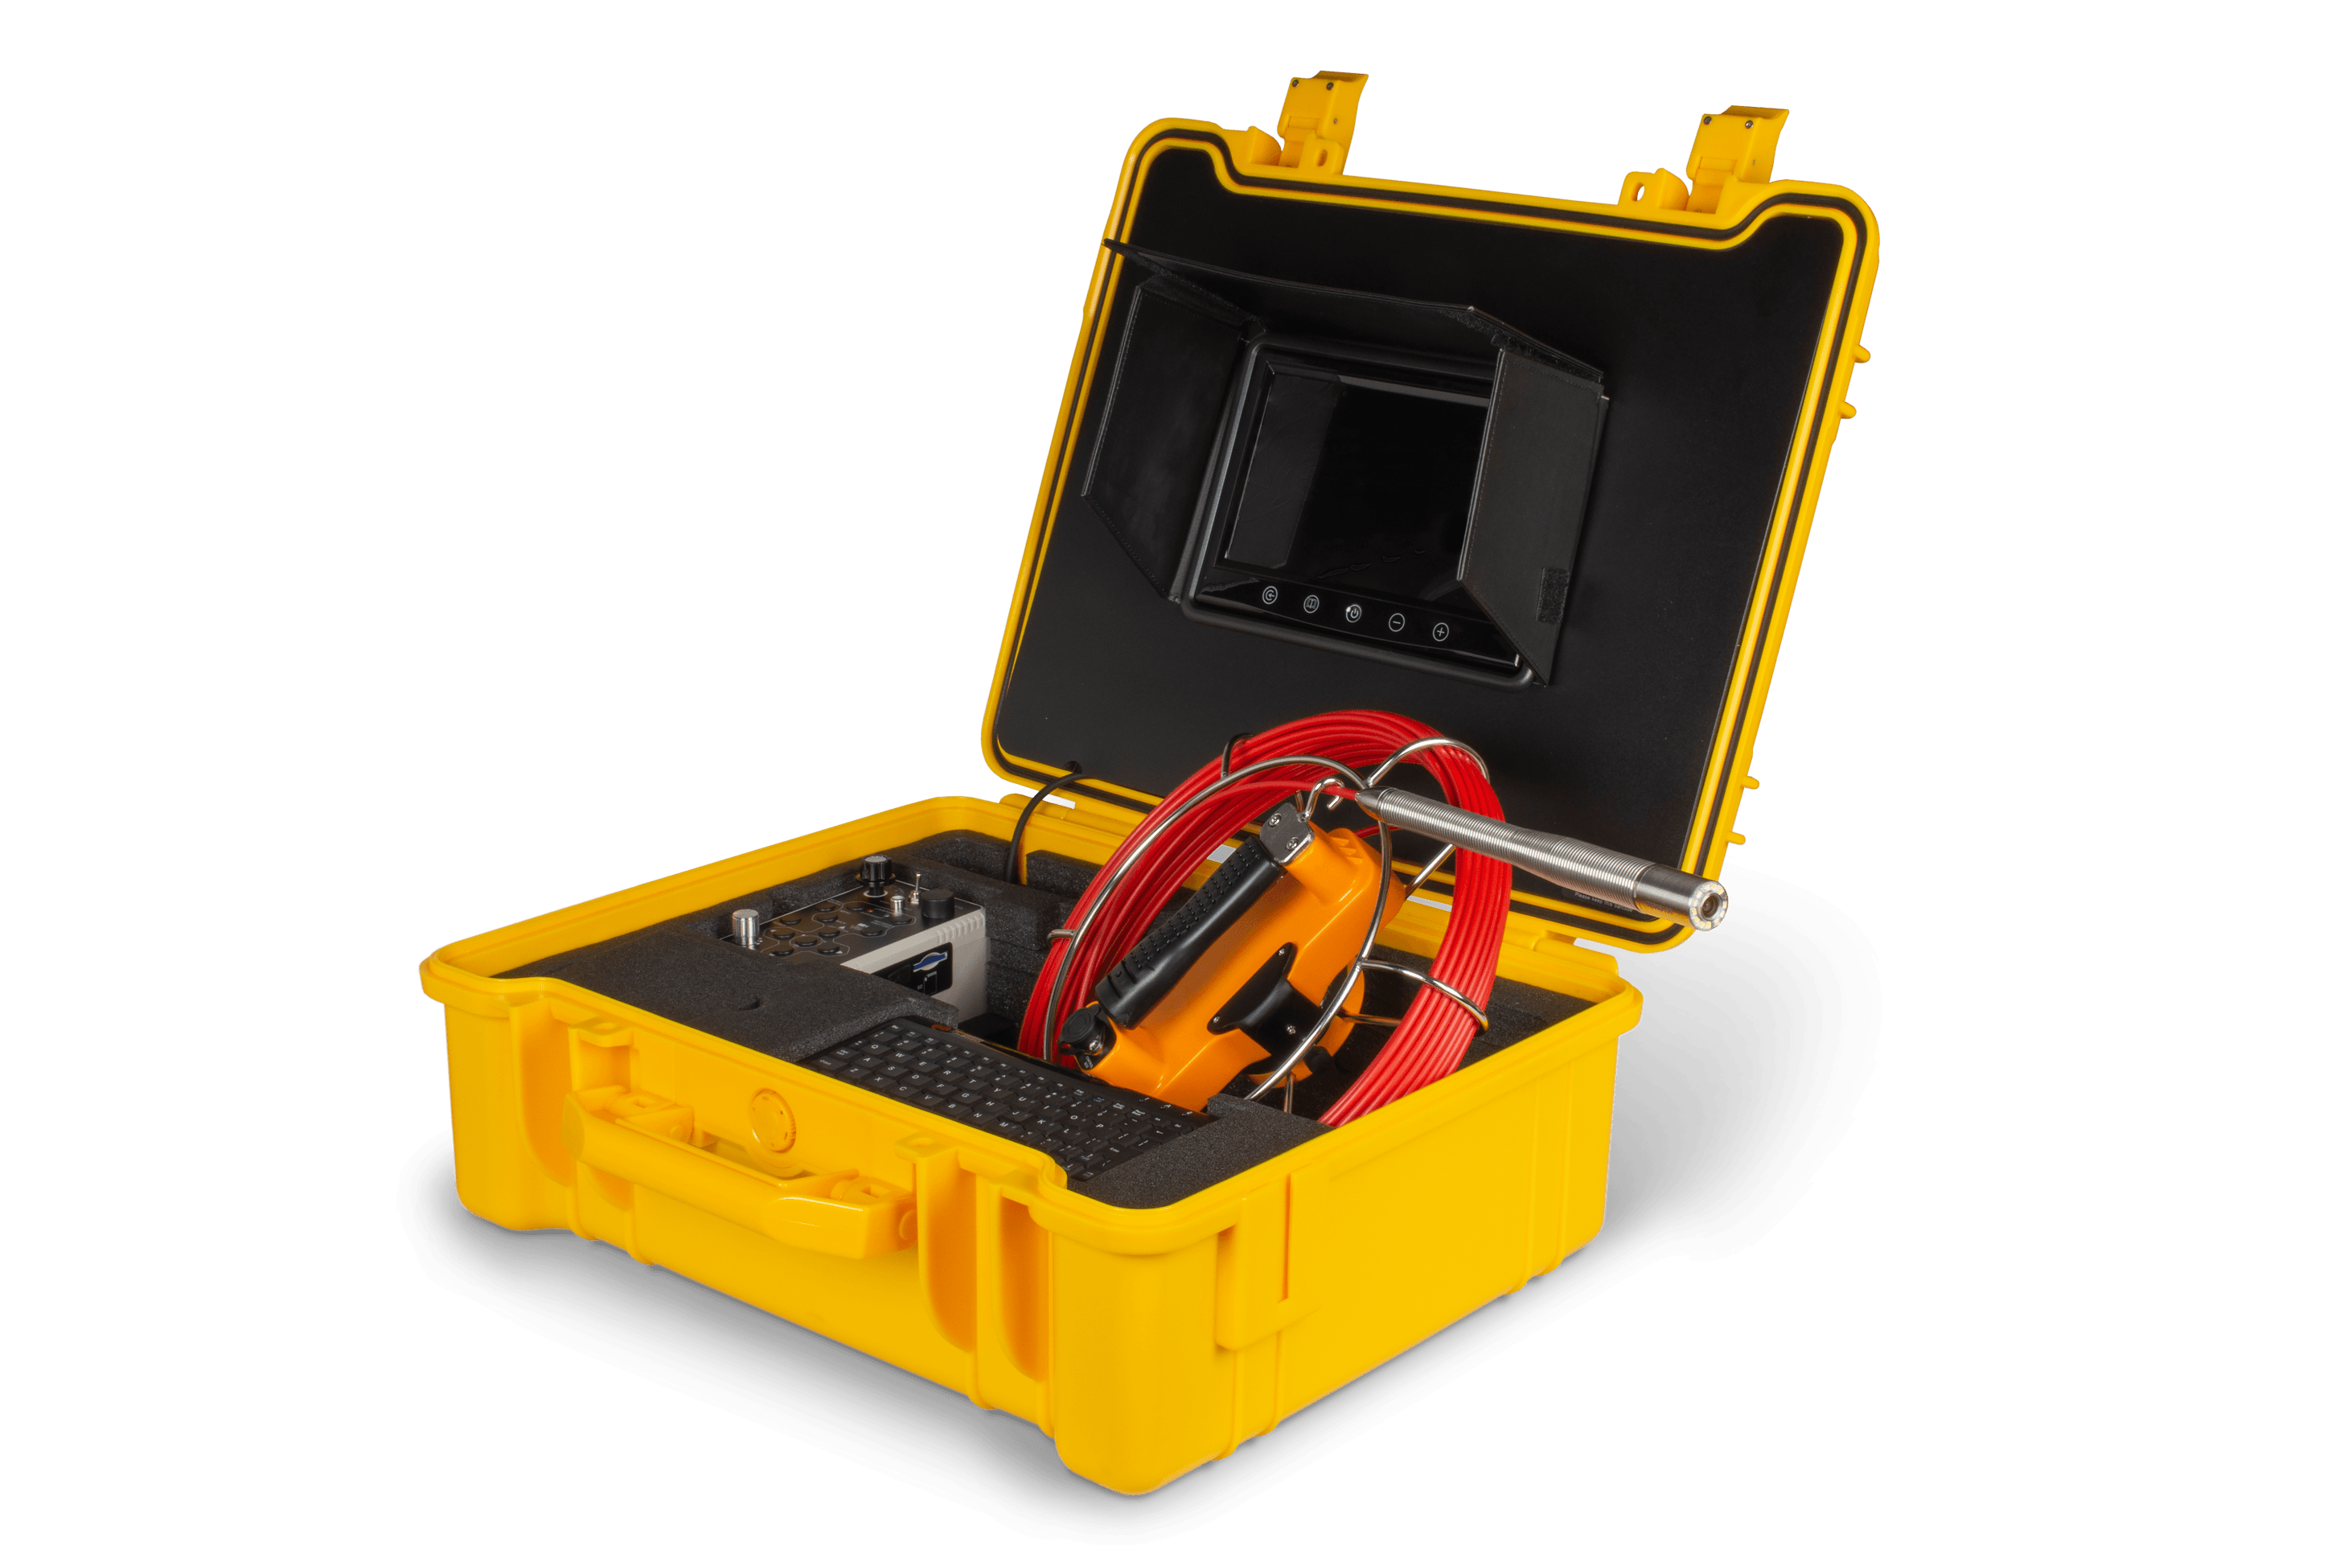
VIPER
For bottom-up runs from the firebox, thimble or cleanout, and small connectors.
- Interchangeable heads: 0.27″, 0.67″, 1.0″; 1.1″ self-leveling
- Fiberglass push cable, 5.5 mm; up to 131 ft (40 m)
- 9″ monitor; AVI/JPEG recording
- Battery operation up to 3.5 h
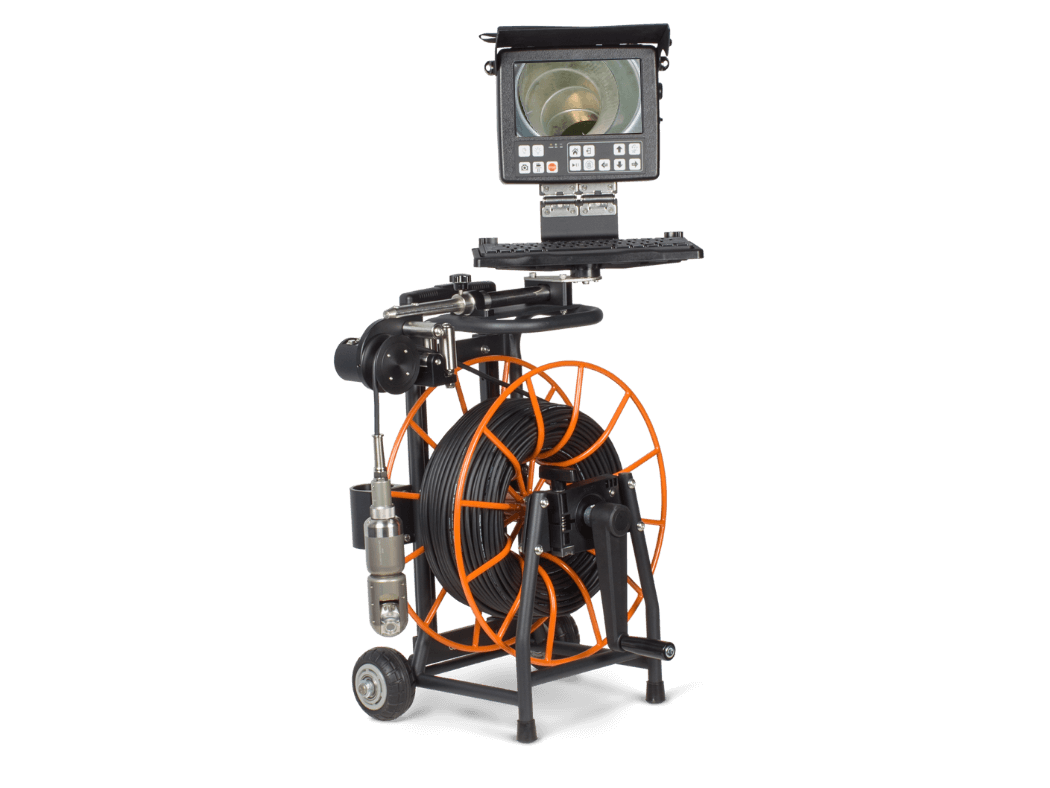
STRAHL PT
For pan-and-tilt liner documentation on a drop cable, from the top of tall or wide flues.
- 2″ (50 mm) pan-and-tilt head: pan 360°, tilt 160°
- Optional 1.3″ (33 mm) small pan-and-tilt head for smaller flues
- 360 ft (110 m) reinforced drop cable with on-screen depth counter
- 8″ 1280×720 display; adjustable LEDs; USB recording
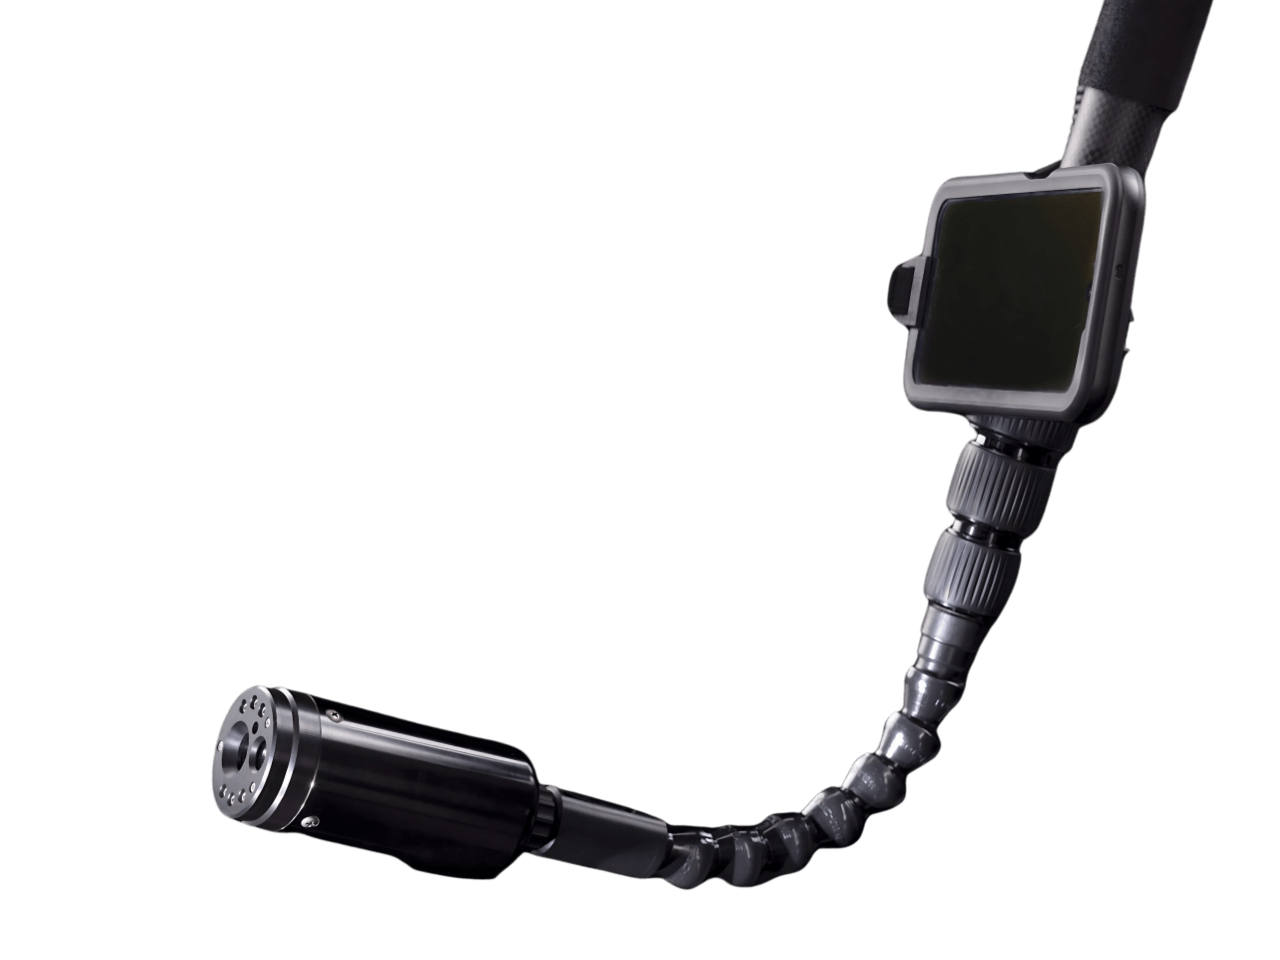
CYCLOPS HDu
For the attic, smoke chamber and roof-level openings in a Level II scope.
- Carbon-fiber gooseneck pole: 4, 6 or 10 ft
- Compact color, IR and thermal heads; right-angle head with 134° field of view
- Rugged 5″, 6″ or 7″ tablet display
- Made in USA
Deciding between adapting a sewer push camera and buying a dedicated drop camera? See Sewer Push Camera or Dedicated Drop Camera for Chimney Inspection? For ductwork, see our HVAC duct camera guide. Need a camera for one job? See the rental program.
Questions inspectors and sweeps ask
Do I need a camera for a Level II chimney inspection?
CSIA's summary of the levels says Level II includes a visual inspection of the flue liners "by video scanning or other means," and its Level II procedure for masonry chimneys requires video scanning or a similar inspection of the chimney interior. When flue size or offsets prevent a scan, the inspector notes it in the report.
Should I use a push camera or a drop camera?
Use a drop camera when you work from the top and the flue runs straight down. Use a push camera when you enter from the firebox, a thimble or a cleanout, or need to get through offsets and horizontal connectors.
When is a pan-and-tilt chimney camera worth it?
When the report has to show liner joints, cracks, gaps or transitions in detail, rather than only confirming the flue is clear. Check that the larger head passes the cap opening, damper throat and liner first.
Can one camera also inspect HVAC ducts?
Often, yes. Drop and push systems used on flues are also used in vertical and horizontal ductwork. Confirm head size, cable reach and lighting for each route.
Does camera footage certify that a chimney is safe?
No. Footage documents visible conditions. Conclusions about safety, structure and code compliance follow NFPA 211, local rules and a qualified inspector's evaluation.
Not sure which camera fits your flues?
Tell us your usual access points, liner sizes and flue heights, and what your reports need to show. We'll recommend a setup, and if you need it for one job, we also rent equipment.
Sources
- Chimney Safety Institute of America: The three levels of chimney inspections
- Chimney Safety Institute of America: Level II inspection SOP, masonry chimney (rev. 4/5/19)
- Fiberscope.net product pages: DUCT-SCAN MICRO, VIPER, STRAHL PT, CYCLOPS HDu (specifications as listed November 2026)
