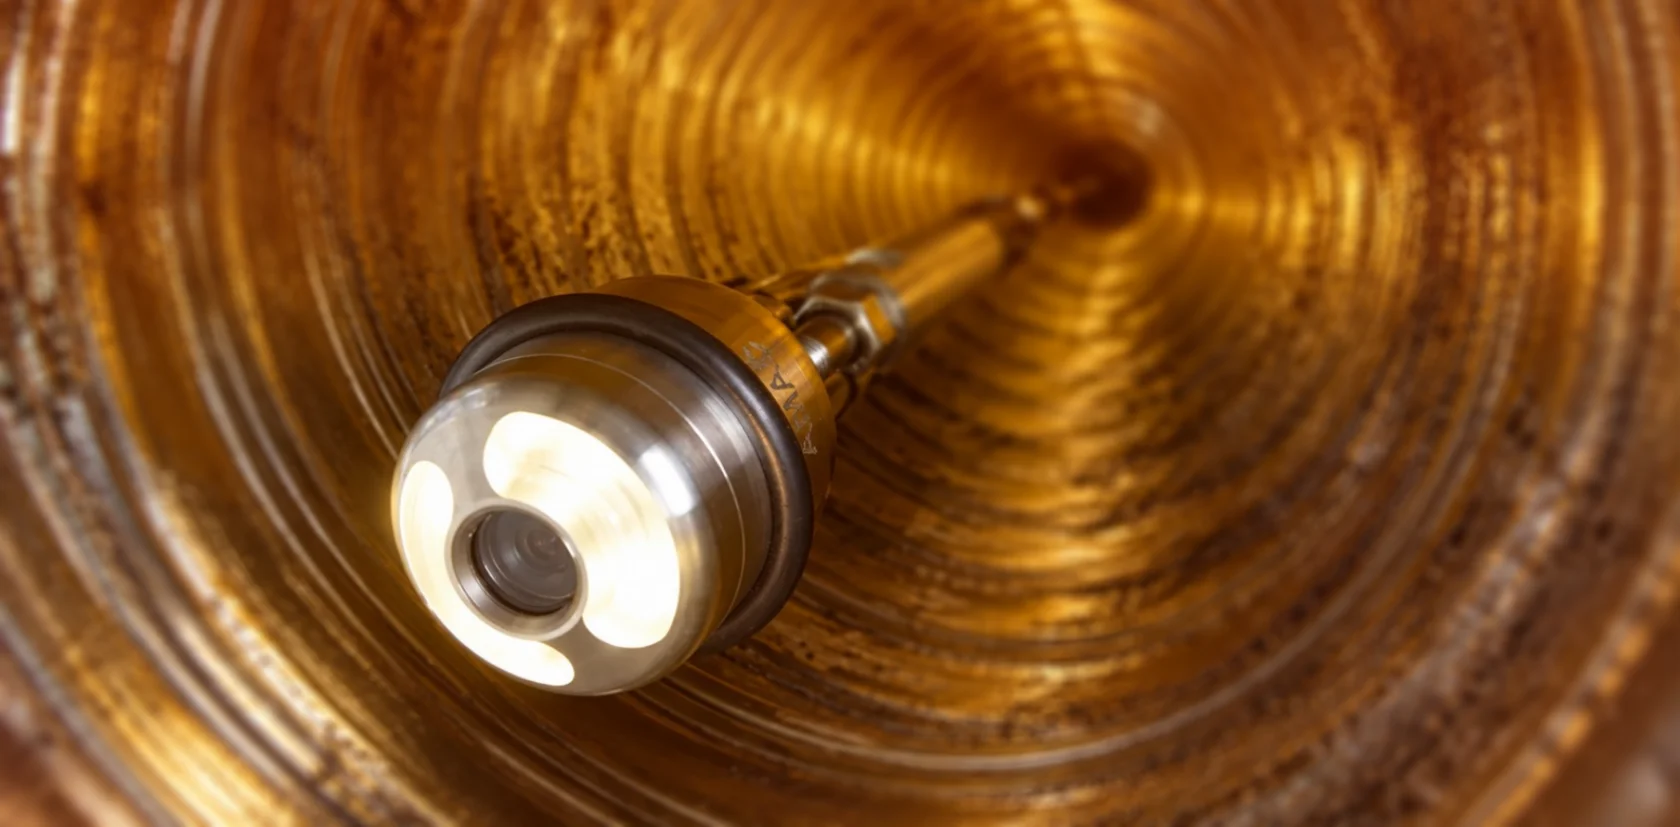
Flue inspection · fireplace surveys · visual documentation

Chimney inspection cameras.

See inside flues, liners, fireplaces, ducts, and vertical shafts—and record the visible condition before service, repair, or further evaluation.

Professional CCTV guideCamera selectionRemote visual inspection
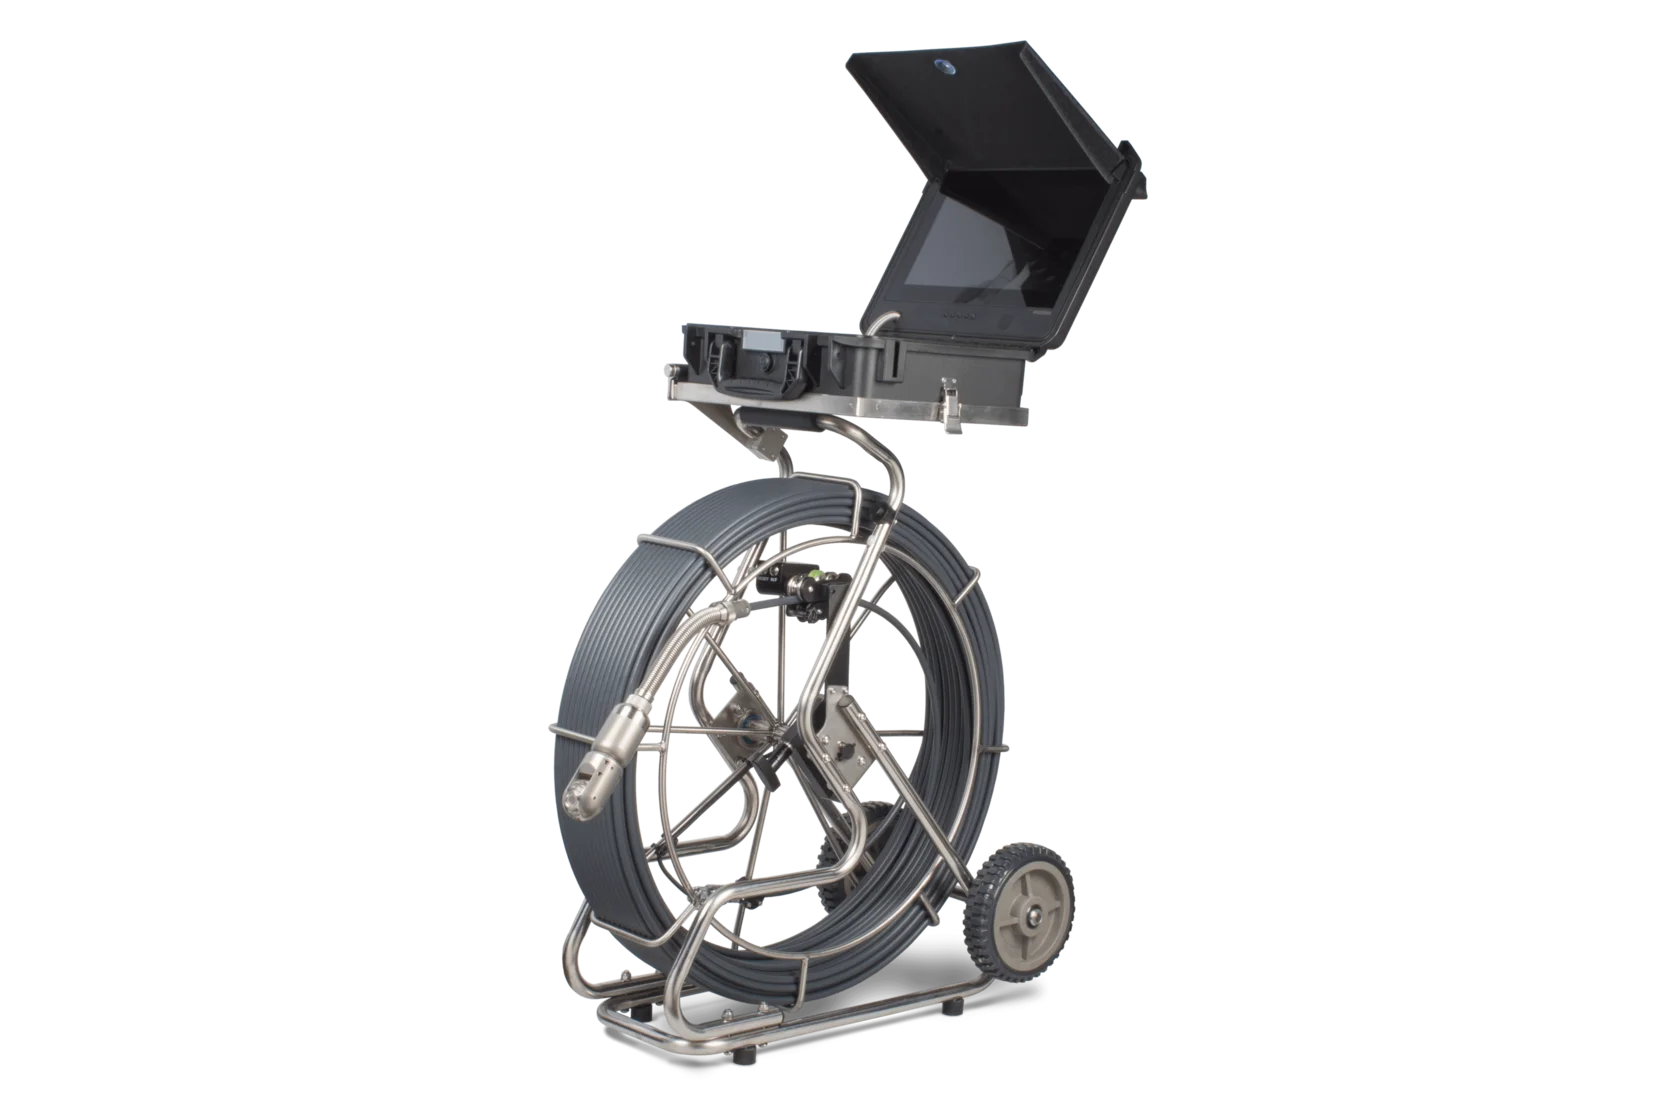
Chimney and vent inspection camera system

The hidden condition

Why inspect a chimney with a camera?

The most important surface may be the hardest one to see.

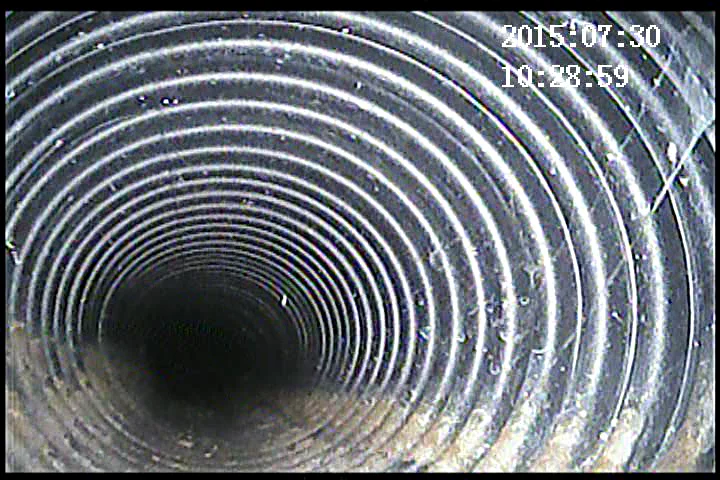
A chimney can look serviceable from the fireplace or roof while cracks, loose masonry, deposits, debris, liner damage, or an obstruction remain out of direct view.

A professional chimney inspection camera gives chimney sweeps, home inspectors, HVAC contractors, maintenance teams, and insurance assessors a controlled view inside the flue. Images and video can show where a visible condition is located and give the next contractor or property owner clearer evidence for the decision that follows.

The value is not simply video. It is the ability to connect a visible condition to a location, document it, and decide whether cleaning, repair, or another qualified evaluation is needed.
Quick selection guide

Routine flue inspectionUse a portable push camera when straight-ahead travel and practical field setup are the priority.
Sidewalls and jointsChoose pan-and-tilt control when the operator must look across the liner rather than only forward.
Vertical dropUse a drop-camera system designed for chimneys, flues, or vertical ductwork.
Elevated accessUse a pole-mounted camera for attics, roofs, shafts, and other remote inspection points.
Short, narrow openingConsider a compact borescope when access is limited and the required reach is modest.

What it is

A remote visual tool for chimneys, flues, and ducts.

A chimney inspection camera places a lighted camera head inside a hard-to-see passage and sends the live image to a monitor.

Depending on the system, the camera may be pushed through a flue, lowered on a flexible cable, attached to a pole, or steered with pan-and-tilt movement. Professional systems may also capture still images and video for reports, estimates, customer communication, insurance documentation, and before-and-after comparison.

The camera does not determine the cause or severity of every visible condition. It provides visual evidence that can be reviewed with the applicable inspection standard, service procedure, and qualified professional judgment.

What the camera can show

Visible conditions that change the next step.

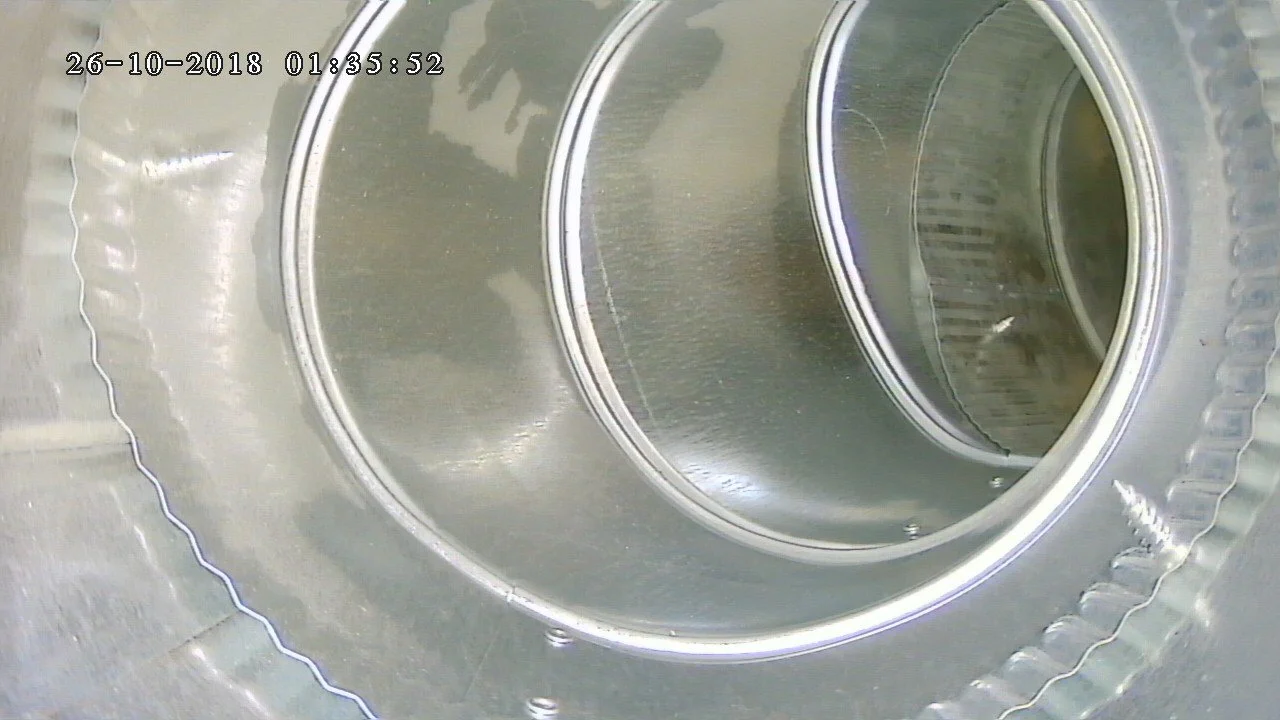
A clear view helps the operator locate and document conditions that may not be visible from the opening.

01

Liner and masonry

Visible cracks, gaps, loose material, missing mortar, liner separation, or surface damage.

02

Buildup and deposits

Soot, creosote-like deposits, residue, scaling, or other visible accumulation.

03

Blockage and debris

Nests, foreign objects, collapsed material, and restricted passages.

04

After service

Visible condition before and after cleaning, repair, lining, or blockage removal.

Inspection limitation: Camera footage records visible conditions. It does not by itself certify a chimney as safe, determine structural integrity, identify every material, or replace required inspection procedures and qualified evaluation.

Applications

One inspection method, several field jobs.

Professional chimney cameras can support routine surveys, repair planning, and documentation across building channels.

01

Maintenance surveys

Document the visible condition of a chimney or flue during regular service work.

02

Before lining

Review the access route, surface condition, and visible obstructions before lining work begins.

03

Post-fire checks

Record visible damage after a chimney fire for review, repair planning, or further assessment.

04

Blockage investigation

Locate nests, debris, collapsed material, or another visible restriction in the passage.

05

Insurance evidence

Capture still images and video when a visual record is needed for a claim or estimate.

06

Ducts and shafts

Use a compatible system for HVAC ducts, ventilation channels, attics, crawl spaces, and vertical shafts.

Buying criteria

Choose for the route, view, and record you need.

Resolution matters only after the camera can enter the passage, reach the target, illuminate it, and point toward the surface that must be examined.

01

Camera-head size

Confirm that the head and any skid can pass through the smallest opening, transition, or liner.

Camera-head size icon
02

Cable length

Match working length to chimney height, duct length, and the planned access point.

Cable length icon
03

Viewing control

Use forward view for general navigation; choose dual-view or pan-and-tilt when sidewalls require closer examination.

Viewing control icon
04

Lighting

Look for adjustable illumination that reveals detail without washing out nearby reflective surfaces.

Lighting icon
05

Recording

Confirm the required still-image, video, audio, file-storage, and report workflow before purchase.

Recording icon
06

Field setup

Consider portability, battery operation, cable management, cleanability, and protection from dust and rough surfaces.

Field setup icon

Camera types

Push, drop, pan-and-tilt, pole, or borescope?

Push cameras

A semi-rigid push cable guides the camera through a chimney, flue, or duct. This is a practical choice for routine inspection routes where straight-ahead viewing and portable setup matter.

Drop cameras

A flexible cable is lowered through a vertical passage. This configuration suits chimney, flue, and vertical duct inspection when gravity defines the route.

Pan-and-tilt cameras

Remote camera movement helps the operator inspect sidewalls, joints, transitions, cracks, and other details that a fixed forward-view head may pass without showing clearly.

Pole cameras and borescopes

A pole camera brings the view to elevated or remote areas. A compact borescope can suit short, narrow access where a full chimney camera system would be unnecessarily large.

Verified FIBERSCOPE options

Match the system to the inspection route.

The examples below use current published product information. Final configuration should be confirmed for the actual flue, duct, or access point.

Portable push camera

VIPER

Push-camera configurations for building ducts, piping, wells, and chimneys, with camera-head choices and image/video recording.

Pan-and-tilt system

ANACONDA

Pan-and-tilt or self-leveling camera-head options, image/video capture, and cable configurations published up to 120 m (394 ft).

Vertical drop camera

DUCT-SCAN MICRO

Portable 20 m (65 ft) drop-camera system with dual-view standard or optional pan-and-tilt heads and USB image/video capture.

Pole-mounted camera

CYCLOPS HDu

Pole-camera platform for elevated and hard-to-reach areas, with gooseneck pole lengths published at 4, 6, and 10 ft.

Inspection practice

Make the footage useful after the camera comes out.

A consistent inspection route and clear location notes turn video into evidence that another person can understand.

01

Define the question

Decide whether the job concerns blockage, liner condition, post-fire damage, pre-lining review, or service documentation.

02

Confirm the route

Record access direction, flue diameter, height, bends, transitions, and the cable length required.

03

Control light and speed

Adjust illumination and move slowly enough to keep sidewalls, joints, and surface details readable.

04

Record location

Note direction, distance, component, and orientation for every important image or video segment.

Give every finding context. A close-up without location or orientation can be difficult to use in a report, repair estimate, or follow-up inspection.

Camera versus borescope

Reach and viewing control separate the tools.

“Chimney camera,” “flue camera,” and “borescope” all describe remote viewing tools, but their working geometry can be very different.

A compact borescope can work well for short, narrow access. A dedicated chimney CCTV system is generally better suited to longer flues, full vertical runs, cable management, stronger illumination, directional viewing, and repeatable documentation.

The practical comparison is not the label on the product. It is whether the camera can reach the inspection area, show the required surface, and create the record the job demands.

FAQ ● Chimney CCTV inspection

Questions and answers

What is a chimney inspection camera used for?

It is used to view and document the inside of chimneys, flues, fireplace systems, liners, ducts, and other hard-to-reach building channels. The camera can reveal visible cracks, deposits, debris, liner damage, fire damage, or blockage that may not be visible from the opening.

Do chimney sweeps need a video inspection camera?

Not every basic service requires video, but a camera is valuable when the flue cannot be viewed directly, a detailed survey is required, or the customer, contractor, or insurer needs visual documentation.

What is the best camera for inspecting a chimney flue?

The best system depends on flue diameter, height, bends, access direction, required sidewall detail, and recording needs. Push cameras suit many routine routes, drop cameras suit vertical passages, and pan-and-tilt systems provide more control for sidewall inspection.

Can a chimney inspection camera record video?

Many professional systems can capture video and still images. Recording can support reports, customer communication, repair estimates, insurance documentation, and before-and-after service records. Confirm the storage method and file workflow for the selected system.

Can chimney cameras inspect HVAC ducts too?

Yes, many systems can also inspect compatible HVAC ducts, ventilation channels, shafts, crawl spaces, and other building passages. Confirm camera-head size, cable behavior, reach, and environmental suitability for each route.

What features matter most in a chimney CCTV camera?

Start with camera-head size, working length, viewing direction, lighting, and recording. Then compare portability, battery operation, cable management, durability, cleanability, and compatibility with the intended inspection route.

When is a pan-and-tilt chimney camera worth using?

Pan-and-tilt control is useful when the operator must inspect sidewalls, joints, transitions, or a specific defect rather than only look straight ahead. The larger camera head must still fit the access route.

Does camera footage certify that a chimney is safe?

No. Camera footage documents visible conditions but does not by itself certify safety, structural integrity, code compliance, or suitability for use. Findings should be interpreted through the applicable inspection procedure and qualified professional evaluation.

Chimney inspection camera support

Choose the camera from the route you inspect.

A FIBERSCOPE technical specialist can help compare camera-head size, cable length, viewing control, field setup, and recording requirements for your chimney, flue, fireplace, duct, or shaft inspection.

Send request
ANACONDA chimney inspection camera system