

The short answer
Most locating problems are set-up problems, not equipment failures. The locator is on the wrong frequency, the sonde battery is low, the operator reads depth off the peak, or a tilted sonde or nearby metal bends the field. Each of these has a quick field check.
512 Hz is the usual sonde frequency on North American sewer cameras: Fiberscope's sewer camera page notes the sonde is generally located behind the camera at the tip of the probe and operates at 512 Hz. The rest of this guide covers how to confirm compatibility, why depth readings drift, and the checks that catch errors before anyone digs.
Frequency compatibility: check it before you leave the shop
Radiodetection puts it plainly: the locator "will not locate the sonde unless the frequencies are the same." Sondes are marked with their transmitting frequency, and locators list the sonde frequencies they can receive. Read both.
| Locator (example) | Sonde frequencies listed | Finds a 512 Hz camera sonde? | Depth readout |
|---|---|---|---|
| XT512 Portable Sonde Locator | 512 Hz; passive 50/60 Hz | Yes | One-button digital; up to 25 ft (7.6 m), condition dependent |
| SnapTrack 512 Hz Sonde Locator | 512 / 640 Hz; optional 815 Hz and 33 kHz | Yes | Manual triangulation |
| Multi-frequency locators | Several sonde modes, often including 512 Hz and 33 kHz | Only when switched to 512 Hz sonde mode | Varies by model |
| Locators set up only for 33 kHz sondes, the most common frequency for Radiodetection's own sondes | 33 kHz | No | Not applicable |
Three compatibility traps
- "Close" is not compatible. 512 Hz and 640 Hz are both low frequencies, but a locator on 640 Hz is not tuned to a 512 Hz sonde. Select the matching mode on multi-frequency units every time; it is easy to inherit the last operator's setting.
- Line-trace frequency is not sonde frequency. A locator that defaults to 33 kHz for tracing cables and pipes may still need to be switched to sonde mode and 512 Hz. Radiodetection's sonde guide asks users of its 512 Hz and 8 kHz sondes to check the specific locator's user guide for compatibility.
- Built-in vs add-on sondes. Some heads carry the sonde inline behind the camera; others offer it as an option on certain head sizes. Check the exact head on the quote, not the camera family.
How the sonde field works, and why it creates ghost signals
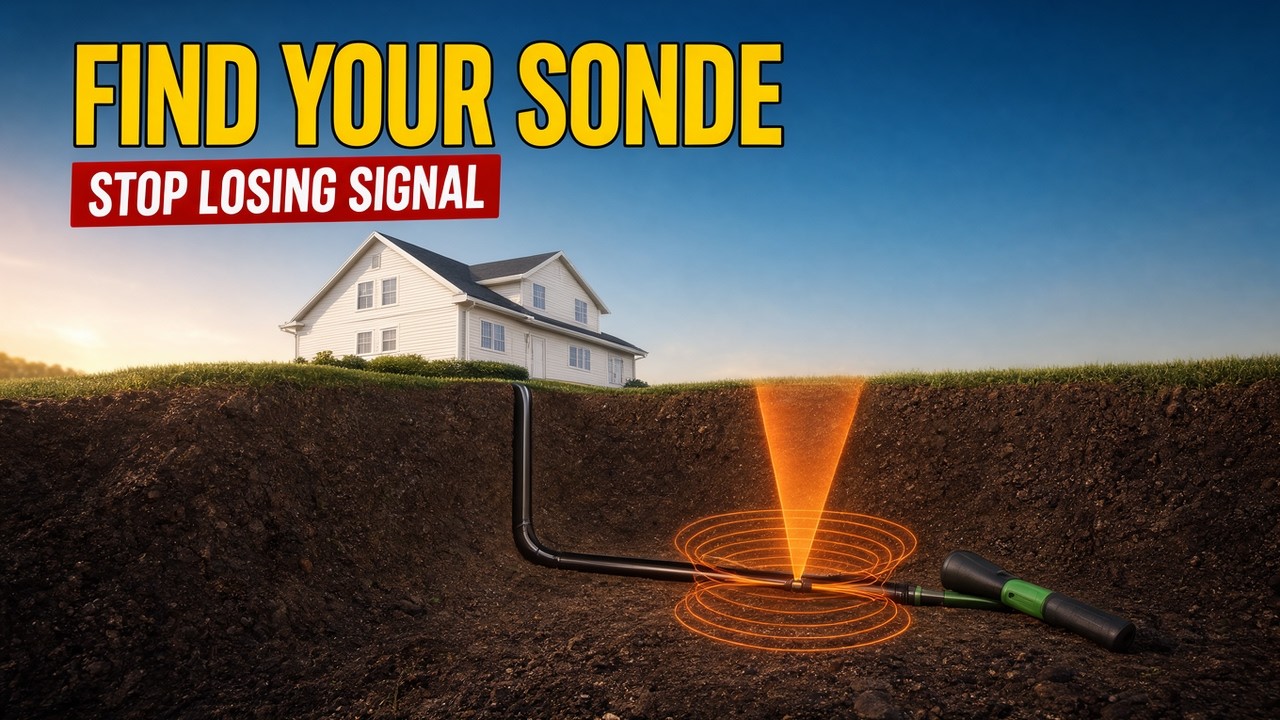
A sonde is a small coil transmitter. In Radiodetection's words, it "radiates a peak field from the centre of its axis with ghost signals at each side of the peak." Over the sonde the signal peaks; along its axis, on each side of the peak, the signal drops to a null and then rises again into a weaker ghost peak.
Two consequences matter in the field. First, a ghost can be mistaken for the sonde if you stop at the first strong signal. Radiodetection recommends finding both ghost signals because doing so "positively confirms the locate." Second, the null spacing gives a backup depth estimate: measure the distance between the two nulls and multiply by 0.7. Nulls 7 ft apart suggest a sonde about 5 ft deep.
A locating procedure that holds up
- Bench-check before the job. Fit a fresh or fully charged battery in the sonde or camera, switch the sonde on, set the locator to 512 Hz sonde mode, and confirm a strong signal at a distance equal to the depth you expect. Radiodetection's pre-use check places the sonde at its rated depth and looks for more than 50% on the bar graph at maximum sensitivity.
- Push a short distance and stop. Locate the sonde close to the access point first, while you know roughly where it is, then advance in steps of about 3–6 ft (1–2 m) and re-locate each time.
- Hold the locator the right way. For most sonde locators the antenna or blade is held vertical and in line with the sonde, which Radiodetection notes is "the opposite to Active line locate method." Follow your locator's manual.
- Find the peak, then both nulls. Set sensitivity so the bar graph reads mid-scale, sweep along the line to find the peak, then confirm a null and a ghost on each side. Reduce sensitivity to lose the ghosts while keeping a clear peak.
- Pinpoint. Move backward and forward, rotate the locator on the spot, then move side to side, repeating in smaller steps with the locator near the ground. The shallowest depth reading coincides with the position directly above the sonde.
- Read depth on the peak only. Radiodetection is explicit: "Depth readings taken from ghost signal position will be incorrect."
- Mark, record and move on. Paint or flag the position, note the camera's footage counter and the depth reading together, and repeat at the defect, at bends and at any change in direction.
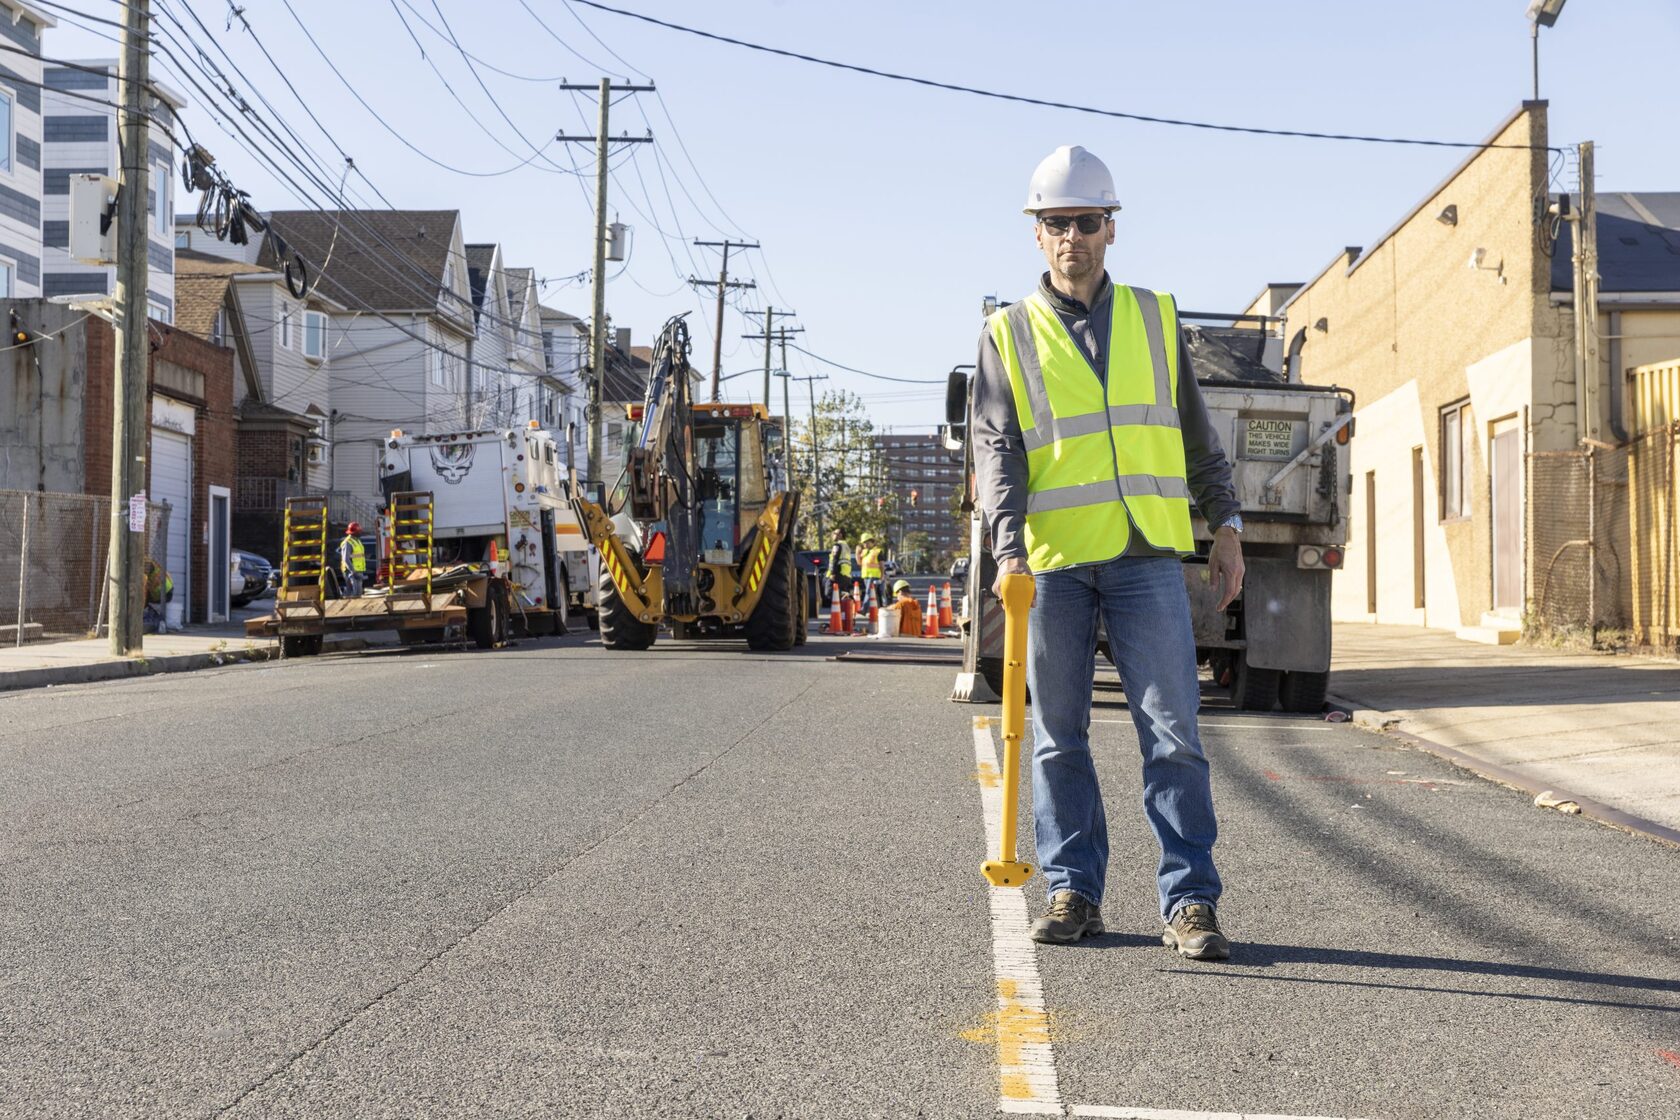
Where depth errors come from
Locator makers describe sonde depth as an estimate. Radiodetection quotes ±3% "if conditions are suitable," but also says depth measurement "is meant as a guide only," and lists noise, ground conditions and interference as factors. These are the usual reasons a reading drifts:
| Cause | What you see | Field check |
|---|---|---|
| Reading off the peak (on a ghost or in a null zone) | Depth too deep or unstable | Find both nulls; re-read where depth is shallowest |
| Locator not aligned with the sonde axis or not vertical | Weak or shifting peak; wrong depth | Re-orient in line with the pipe; keep the mast vertical |
| Tilted sonde (head climbing a sag, offset or the side of the pipe) | The peak and nulls shift; one null sits closer to the peak than the other | Compare the distance from the peak to each null; unequal spacing suggests tilt, so re-check after pushing the head a little further |
| Cast iron pipe | A harder, less stable locate | Use a 512 Hz sonde: Radiodetection describes its 512 Hz standard sonde as "particularly useful for use in cast iron pipes"; locate at shorter intervals |
| Adjacent cables or pipes carrying signal, power lines | Depth off by a wide margin; Radiodetection says a strong signal on an adjacent line "can often introduce ± 50% error" | Check for parallel lines within 3–6 ft (1–2 m); lift-test the reading; move away from the source if the bar graph overloads |
| Weak sonde battery or a deep line | No depth shown, or a jumpy one | Fresh battery; use the 0.7 × null spacing method as a backup |
The lift test
Radiodetection's check for a suspect or critical reading: lift the locator 2″ (50 mm) and measure again. If the depth increases by the same 2″, the reading is likely sound. Radiodetection also advises checking that the line runs straight for at least 6 ft (2 m) either side of the measurement point, and notes that the shallowest indication is the most accurate.
Depth to the sonde is not depth to the dig
Every locator in this guide measures to the center of the sonde. The sonde rides inside the pipe, so the top of the pipe is shallower than the reading by roughly the distance from the sonde to the crown, which grows with pipe size. Plan excavation with that margin and expose carefully.
Field check sheet
| When | Check | Pass if |
|---|---|---|
| Before the job | Sonde frequency label vs locator mode | Both read 512 Hz |
| Before the job | Batteries in sonde/camera and locator | Fresh or fully charged at the start of the day |
| At the access point | Signal with the sonde just inside the pipe | Strong, stable peak at expected range |
| Each mark | Peak plus both nulls found | Nulls on both sides, roughly equal spacing |
| Each mark | Depth read on the peak, then the 2″ lift test | Reading increases by about 2″ |
| Each mark | Footage counter noted with the depth | Distance and depth recorded together |
| At the defect | Depth by locator vs 0.7 × null spacing | The two estimates broadly agree |
| Before digging | 811 ticket and state rules | Utilities marked; excavation plan allows for sonde-to-crown margin |
For help choosing the camera itself, see our guide on how to choose a sewer camera for 2–6 inch pipes.
Fiberscope equipment to consider
Picked by the criteria above: cameras with a documented built-in 512 Hz sonde, and locators that receive 512 Hz with the depth method stated. Specifications are taken from the current product pages; ask us to confirm the exact configuration.
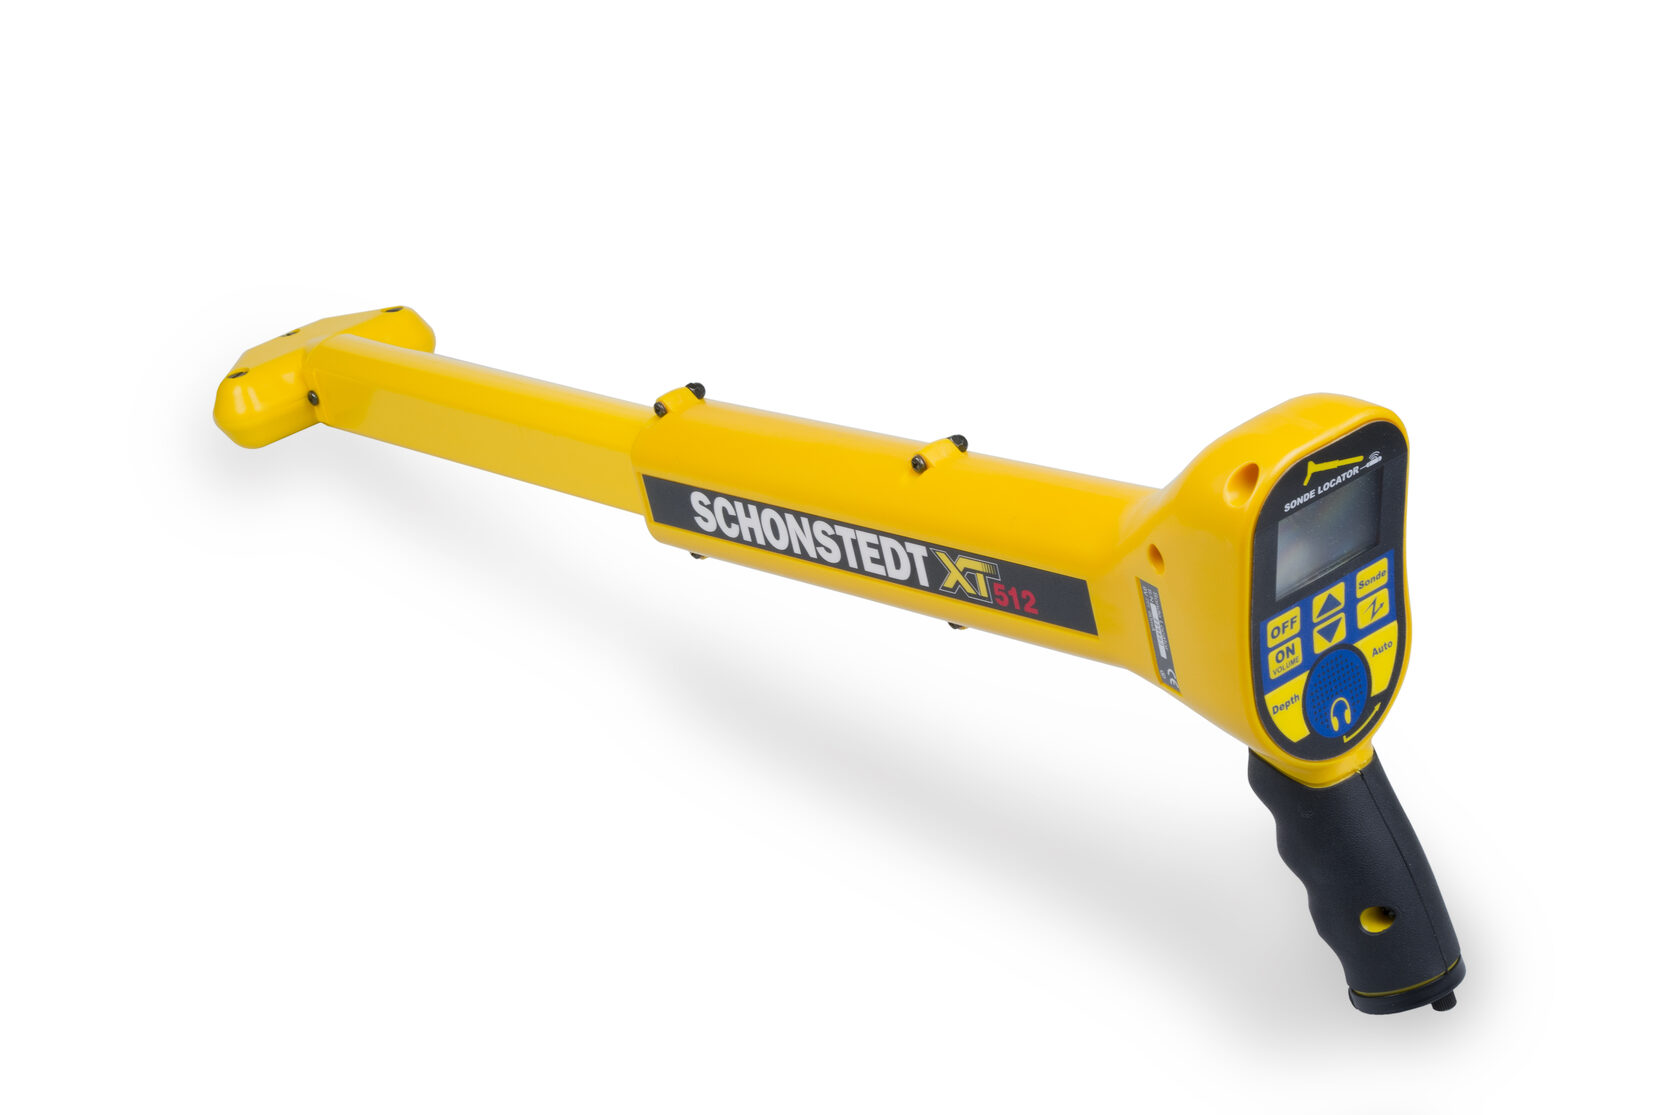
XT512 Portable Sonde Locator
For crews that locate 512 Hz camera sondes on residential and light-commercial laterals and want a one-button depth reading.
- 512 Hz sonde mode; passive 50/60 Hz
- One-button digital depth measurement
- Depth readout up to 25 ft (7.6 m), condition dependent
- Peak and null readings; under 2.8 lb
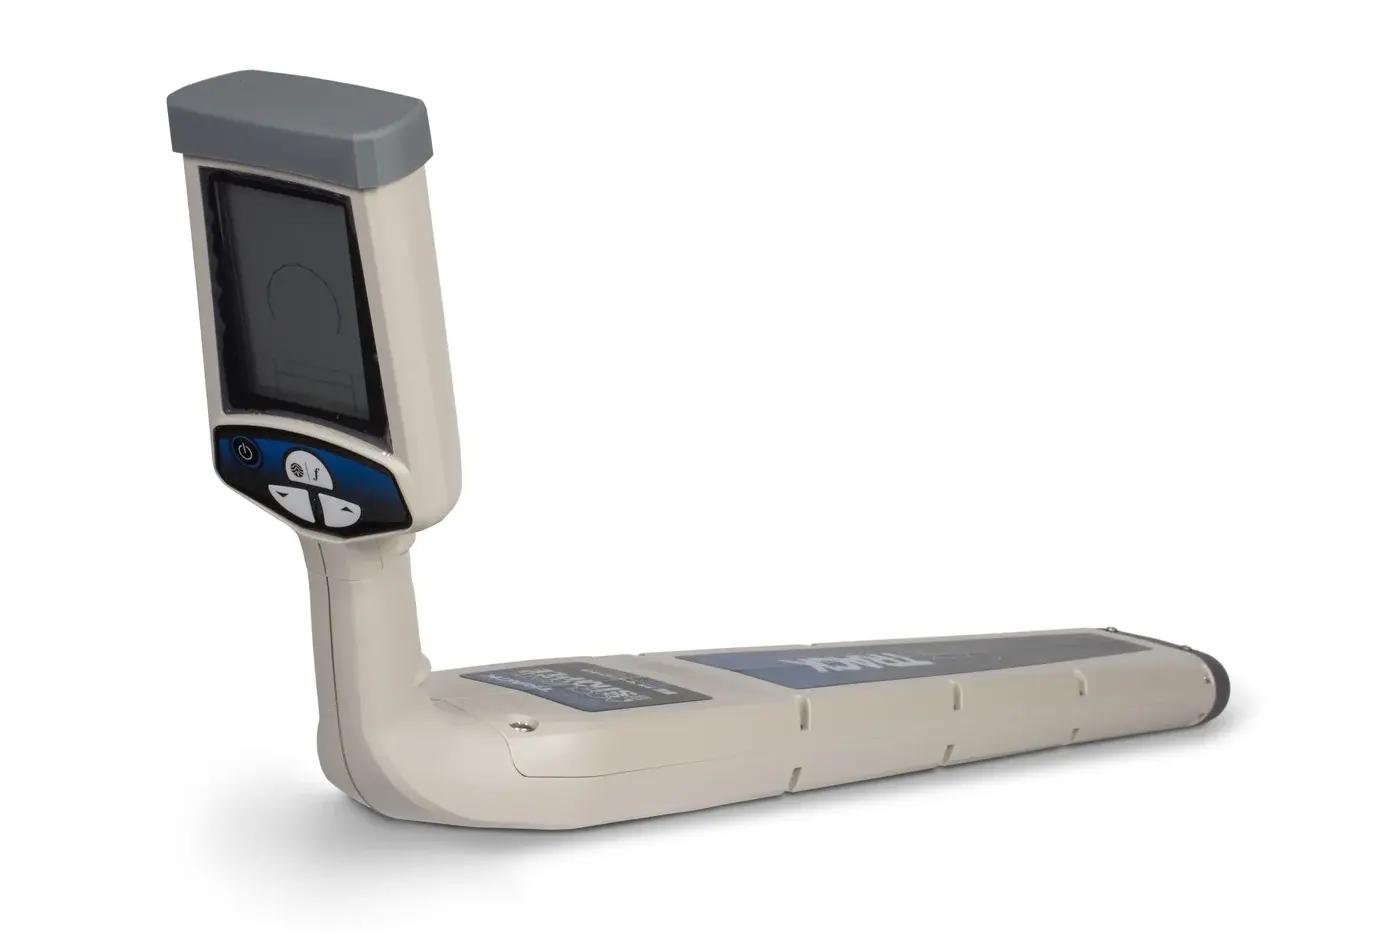
SnapTrack 512 Hz Sonde Locator
For mixed fleets with 512 Hz and 640 Hz sondes, or 33 kHz with the optional mode.
- 512 / 640 Hz; optional 815 Hz and 33 kHz
- Manual triangulation for depth
- Bar graph and 0–999 signal-strength readout
- Battery: 40 h continuous; −4 to 133 °F
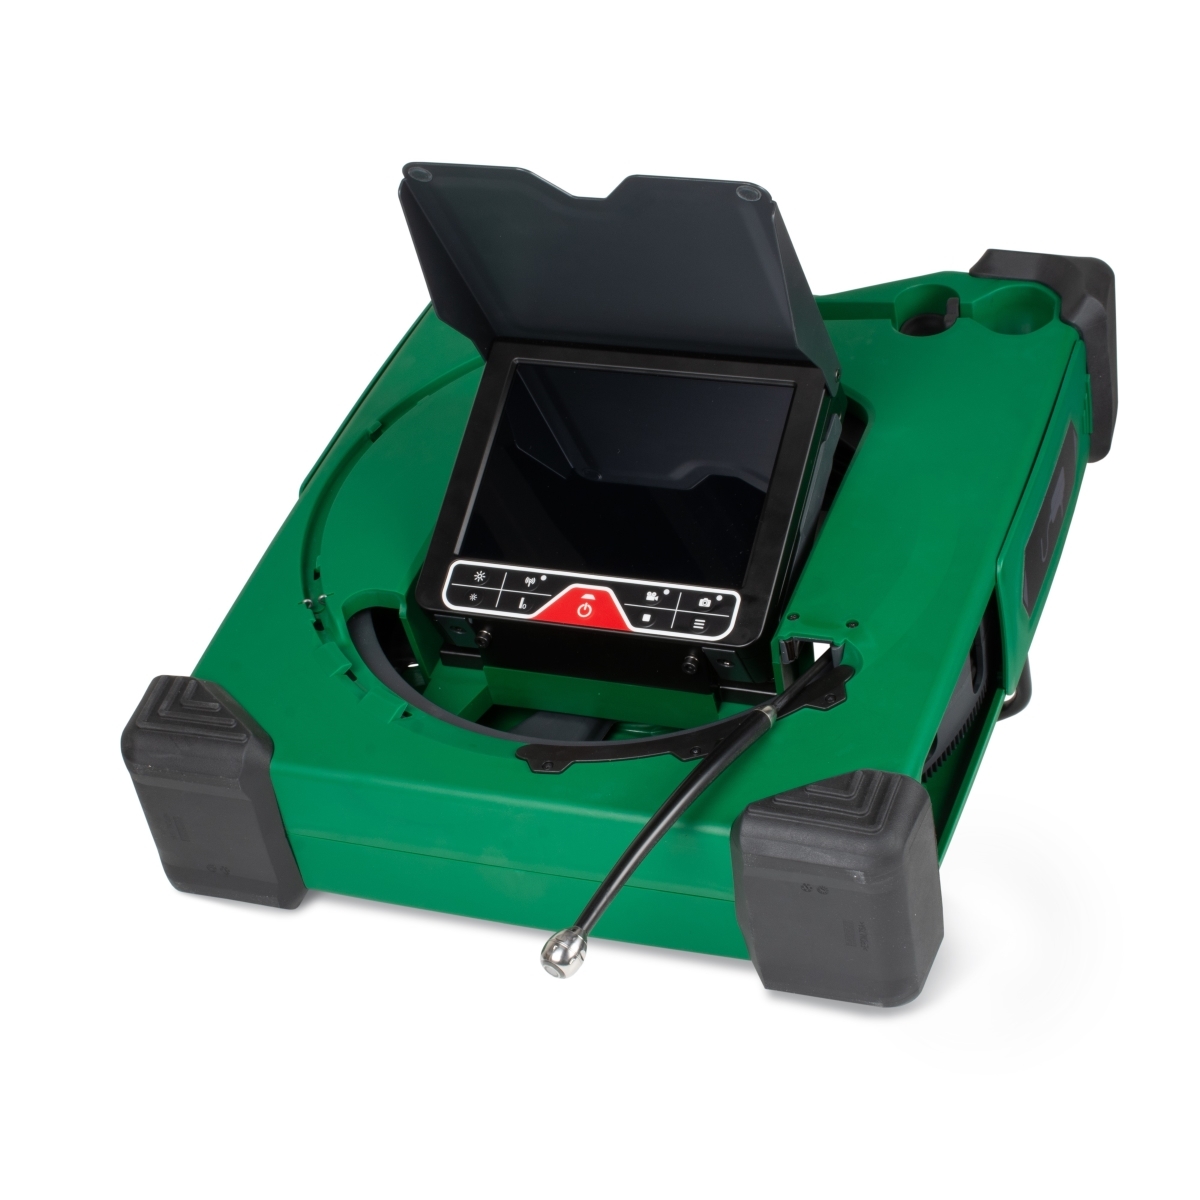
MiniFlex 2 19mm
For traps and 1¼–3″ drains where you need to mark the camera's position behind walls or under floors.
- Built-in 512 Hz sonde
- 0.76″ (19.5 mm) straight-view head; multiple 90° bends in 1½″ pipe
- 65 ft or 131 ft push cable, 5.5 mm
- IP68, 3 bar
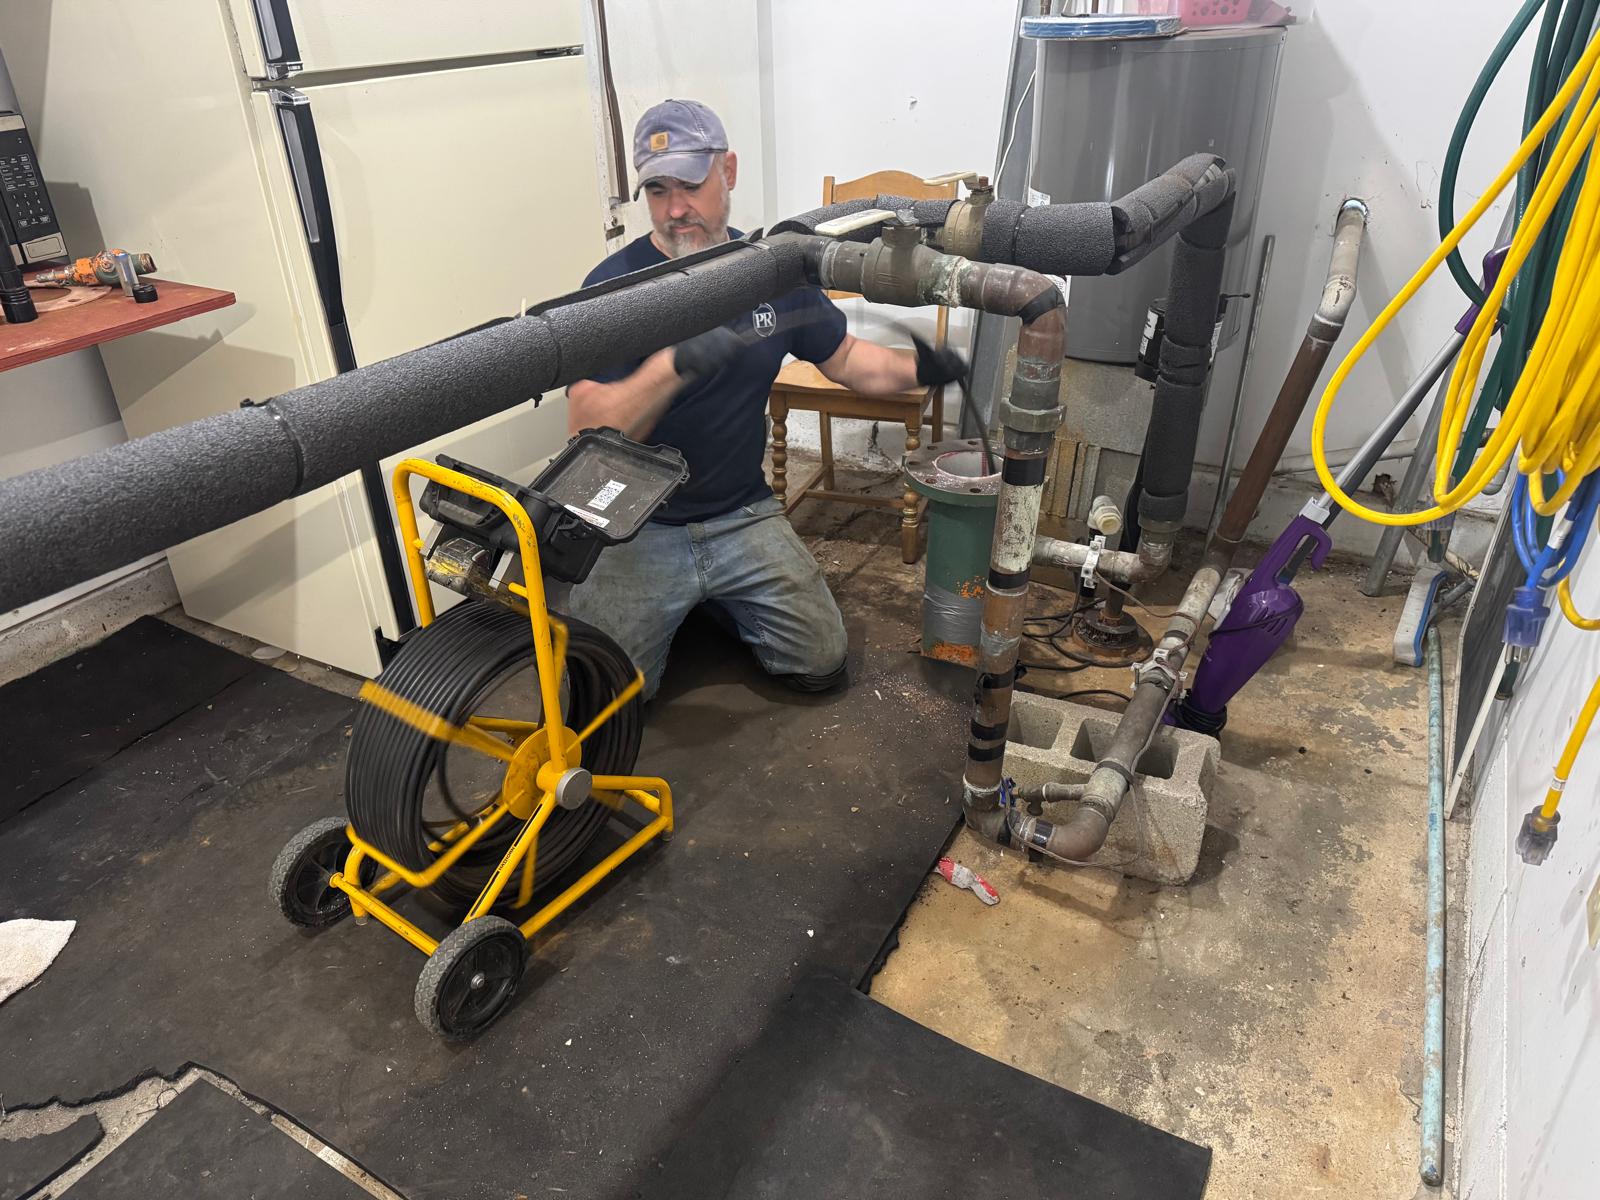
HATHORN Sewer Camera
For laterals and building sewers where you need to mark the camera's position with any standard 512 Hz receiver.
- Standard 512 Hz inline sonde (optional on the 1″ head)
- Heads: 1″ (pipes to 4″), 1.23″ (to 6″), 1.43″ (to 8″)
- Push cable 100–400 ft
- IP68 heads
Need it for one job? See the rental program, or compare cameras on the sewer camera page.
Questions crews ask
Will any 512 Hz locator find any 512 Hz sonde?
The frequencies must match, so a locator in 512 Hz sonde mode should detect a 512 Hz sonde from another brand. Usable range still depends on the sonde's output, its battery and the pipe material, so bench-check a new pairing before relying on it.
Why does my depth reading jump around?
The usual causes are reading away from the peak, a locator that isn't aligned with the sonde or held vertical, a tilted sonde, nearby metal or power lines, and a weak sonde battery. Re-find both nulls, re-read at the shallowest point and run the 2″ lift test.
Is the depth reading the depth of the pipe?
No. It is the depth to the center of the sonde inside the pipe. The top of the pipe is shallower, so allow a margin and expose the line carefully before trusting the number.
Can I locate a camera in cast iron pipe?
Yes. A 512 Hz sonde is the usual choice; Radiodetection describes its 512 Hz sonde as particularly useful in cast iron pipes. Locate at shorter intervals and confirm each mark with both nulls.
Not sure your camera and locator match?
Send us the camera model, sonde frequency and the locator you use. We'll check compatibility and recommend a setup, and if you need it for one job, we also rent equipment.
Sources
- Radiodetection: Sonde overview (frequency matching, ghost signals, battery practice)
- Radiodetection: Locating a sonde (orientation, pinpointing, peak-only depth, 0.7 × null spacing)
- Radiodetection: Locating sondes (depth to sonde center, ±3%, 2″ lift check)
- Radiodetection: Verifying depth measurements (adjacent-line error, straight-run check, guide-only accuracy)
- Radiodetection: Sondes user guide (512 Hz sondes for cast iron, locator compatibility, bench test)
- Common Ground Alliance: 811 — Call before you dig
- Fiberscope.net: Sonde locators, MiniFlex 2 19mm, HATHORN sewer camera, Sewer cameras (specifications as listed November 2026)
